Last Updated on
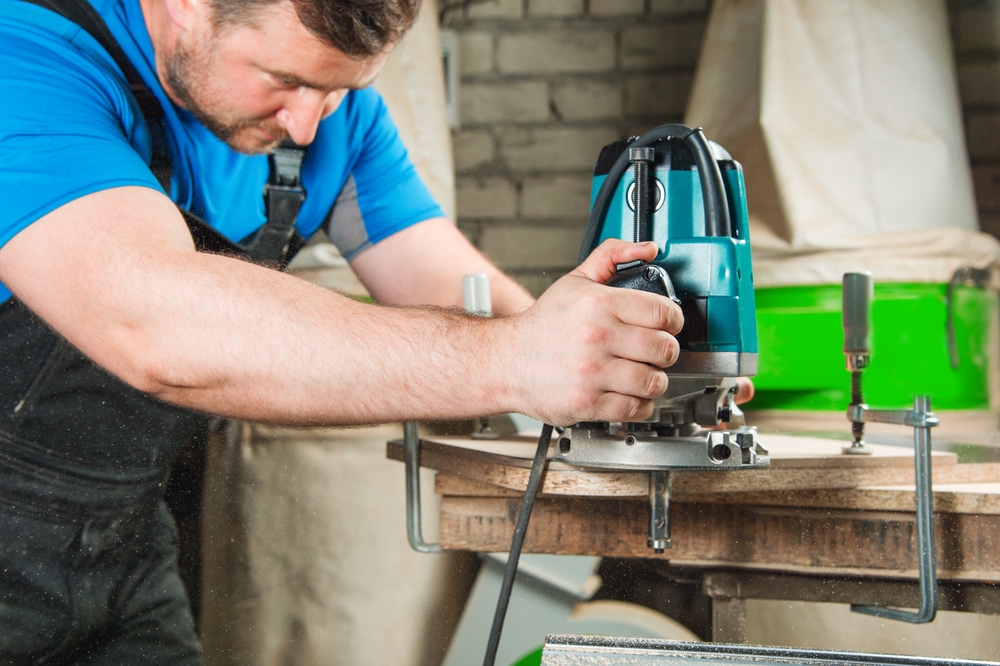
Routing is a woodworking technique that uses a handheld power tool to shape and sculpt wood. One widespread use of a router is to cut circles in wood, which can be helpful for various projects, such as making circular tables, creating decorative elements, or cutting out holes for electrical outlets or light fixtures.
Cutting circles with a router can initially seem intimidating, but with the right tools and techniques, it’s a relatively straightforward process. In this article, we’ll walk you through how to cut circles in wood using a router.
The Best Bit for Cutting a Circle
A router is a powerful tool to cut and shape lumber, plastic, and other materials. It consists of a motor, which rotates a spindle that holds a router bit. A bit is a cutting tool you can change to suit different cutting tasks.
When it comes to cutting holes in wood using a router, there are several types of router bits that you can use.
The best router bits for cutting circles in wood are the following.

- Spiral Upcut Bits: These bits have a helical shape that allows them to cut through wood smoothly and efficiently. They are handy for cutting circles in wood because they produce a clean, precise cut with minimal tear-out.
- Straight Bits: These bits are simple, with a flat cutting edge that runs straight across the bottom of the bit. They are best suited for straight cuts and could be more effective at cutting circles. However, you can still use them to create circles in wood by making multiple passes around the circle’s circumference.
- Round-Over Bits: These bits have a rounded cutting edge, ideal for creating smooth edges and corners on wood. You can use them to make circles, although they are less precise than spiral upcut bits.
- Flush Trim Bits: These bits have a flat cutting edge flush with the bottom of the bit, making them ideal for trimming and shaping wood. You can also use them to cut circles by making multiple passes around the circle’s circumference.
No matter which bit you choose, using it safely and correctly is essential. Always follow the manufacturer’s instructions and use protective gear such as goggles and earplugs when operating a router.
Cutting a Circle vs Making a Round Hole
There are a few critical differences between cutting a hole in the wood and using a router to cut circles. When cutting a hole, you typically use a drill, or a hole saw to create a circular opening.
This method is quick and easy, but it can leave rough edges and is limited in terms of the size and precision of the hole you can create.
On the other hand, creating circles with a router allows you to achieve much finer control and precision. You can make smaller or larger circles with greater accuracy, and the edges of the cut will be smoother and more precise.
In addition, you can use a router to cut not just circles but also other shapes, such as ellipses and ovals.
How to Cut Circles Using a Router
To cut circles in wood using a router, you will need the following tools and materials:
- A router with a straight bit
- A circle-cutting jig or router template
- A piece of wood to cut the circle from
- Sandpaper or a file (optional)
Step 1: Gather Your Tools and Materials
Before you get started, make sure you have all the necessary tools and materials on hand. You’ll also need a router bit with a bearing. This special type of bit has a small wheel at the bottom that follows a guide, allowing the router to cut a precise circle.
Step 2: Set up a Router, Table, and Jig
A router jig is a device that guides the router around the edge of the circle you want to cut. Several types of circle-cutting jigs are available, but the most common is a simple template that you can clamp to the lumber.
To set up the jig, clamp the template to the wood and adjust the position of the router bit so that it extends just beyond the edge of the template. Ensure the router is securely mounted to the jig and the bit is tightened correctly.
If you’re using a router table, set it up according to the manufacturer’s instructions. If you’re using a handheld router, you’ll need to clamp it to a stable work surface. Make sure the router is level and secure.
Step 3: Adjust the Depth of the Router Bit
Adjust the depth of the router bit to the thickness of your wood piece. This will ensure that the router cuts through the lumber.
Step 4: Determine the Diameter of the Circle
Before you begin cutting, you must determine the diameter of the circle you want to create. You can use a ruler or a tape measure to measure the distance across the circle’s centre. This will give you the final diameter.
Use a pencil to trace your desired circle’s radius (half the diameter) on your piece. This will be the point around which the router will rotate as it cuts the circle.
Step 5: Begin Cutting the Circle
To begin cutting the circle, turn on the router and carefully guide it around the edge of the template. As you do this, trace the router bit, keep in contact with the lumber at all times, and move the router in a smooth, continuous motion.
A steady hand and a slow movement ensure a clean, precise cut.
Step 6: Finish the Cut and Smooth the Edges
Once the router has completed a full rotation around the template, the circle should be fully cut. You may need to make a few passes with the router to fully cut through the wood, depending on the thickness of the material.
After the circle is cut, you may want to smooth the edges with sandpaper or a file to remove any roughness or burrs. This will give the circle a more polished, professional finish.
Apply stain if you’d like to protect the piece.
Cutting Perfect Circles the Easy Way
Cutting circles in lumber using a router can add a professional touch to your woodworking projects and allow you to create intricate designs. While it may seem intimidating initially, making precise circles is fairly straightforward once you understand the basic principles and have the right tools and materials.
Paul is the type of person who never met a problem he couldn’t fix. He can always be found tinkering with something in his house, even if it isn’t broken! His tips and tricks are often shared on our site. He’s the one you call when something breaks because he has been known to improvise fixes for everything from leaky faucets to malfunctioning dryers.


