Last Updated on
A cold drink on a warm summer day is always refreshing. If you own an ice maker machine, taking care of it should be a top priority.
Cleaning and maintaining your ice maker is essential if you want to enjoy refreshing drinks for years to come. With the proper cleaning process and products, you can ensure it works efficiently and produces high-quality ice.
Keep reading to discover how to clean an ice maker in a few basic steps.
Step-By-Step Guide for Cleaning an Ice Maker
Mineral buildup, bacteria, and mould are some of the problems in an ice maker if it is not cleaned regularly. Such buildup can lead to unpleasant odours or poor-tasting ice. To avoid such issues, cleaning your ice maker periodically is essential.
Step 1: Unplug Your Ice Maker Machine
Cleaning an ice maker requires a few minutes of preparation. To start, unplug the machine from the wall socket and wait for any remaining ice to melt completely.
Unplugging your ice maker can save you from getting electrocuted. It is also necessary to turn off the water supply that feeds the ice maker machine if you have one connected.
Step 2: Clean the Exterior
Once you’ve unplugged your ice maker, use a soft, damp cloth to wash down the exterior. Use a small brush or soft cloth to get into the crevices and clean away any dirt or grime.
You can use dish soap and fresh water to clean the exterior. Ensure to rinse off the soap thoroughly with fresh water, as any remaining residue could affect the taste of your ice.
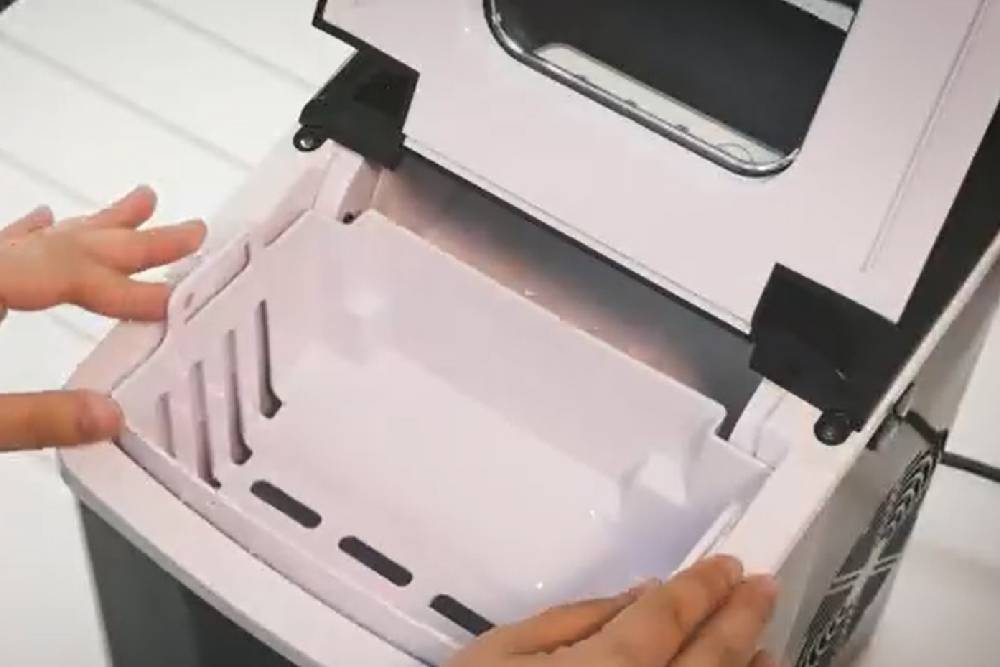
Before cleaning the exterior, remember to remove the ice basket from your ice maker. Take out the remaining old ice cubes and discard them. It’s essential to clean and sanitise the ice bin thoroughly.
You can do this by using a solution of warm water and dish soap, lemon juice, or distilled white vinegar. Allow the ice basket to dry before placing it back in the machine.
Step 3: Remove Dirty and Old Filters
Check if your ice maker has a dirty filter that needs replacement. If so, replace it with a new one. Discarding the old filter is essential, as it could harbour bacteria and mould.
A dirty water filter can also lead to poor-tasting ice. Regularly replacing the water filters can help you make clean and clear ice cubes.
Step 4: Clean the Interior
Hey Twitter! Bonus points if anyone can tell me what would cause an ice maker to do this and how to clean it!?!
— 🌻Paintless (@LaughingCaribou) May 8, 2019
Fridge it came from was sitting for awhile how long we don’t know but everything seems to work a treat just needed cleaning pic.twitter.com/bd4f4Uhe66
To clean the interior of ice makers, use a damp cloth, a solution of warm water, and dish soap. Wipe away any residue or buildup in the interior to remove any odours or bacteria.
For hard-to-reach spots, you may need to use a soft cloth and brush to wash the interior thoroughly. Ensure to rinse everything thoroughly, and air dry it after cleaning. If the ice maker cleaning solution or soap remains in the interior, it can affect the taste of the ice produced.
Step 5: Sanitise the Ice Maker
Sanitising ice makers can ensure your ice remains safe and tastes great. You can use baking soda, white vinegar, or a sanitising solution to sanitise the interior and exterior of your ice maker.
Mix 1 tablespoon of baking soda with 1 gallon of warm, clean water and use it to sanitise the interior and exterior of your ice maker. Vinegar is also an effective sanitiser—mix 1 part vinegar with four parts of warm water to clean your ice maker.
Allow the cleaning solution to sit for a few minutes, then rinse with warm water.
Step 6: Dry and Reassemble Your Ice Maker
Once you have finished cleaning and sanitising your ice maker, it’s time to reassemble the parts. Ensure to completely dry the ice maker’s removable parts before putting them back in the machine.
Once all the components are dry, you can plug your ice maker back into the power source. Turn on the freshwater supply and wait for a few minutes to allow it to produce clean and fresh ice. Stay within the water line limit to ensure your ice maker works correctly.
Clean Your Ice Machine Today
Learning how to clean an ice maker is essential to keep your ice tasting great and safe to consume. A dirty ice maker can lead to poor-tasting ice and can also put your health at risk. Regular maintenance is essential, as it can help keep ice makers running more efficiently and extend their lifespan.
Give your ice maker a deep clean at least once every six months to ensure the best results. Follow the steps above, and you’ll be able to keep your ice machine clean and running smoothly. Remember, if there are specific instructions in your user manual, refer to them.
If you still need to figure out an ideal clean cycle or if you use hard water to make ice, consult with a professional to get the best advice. They will guide you on exemplary cleaning steps and a suitable ice maker cleaner to use.
FAQs
There are a few common doubts about the general rules of ice machine cleaning. Here are some common questions you might have:
What’s the Ideal Cleaning Cycle for an Ice Maker?
It’s best to clean the interior and exterior of your ice maker once every six months. Ensure to replace the filters regularly and discard old ice cubes to prevent any residue buildup.
Should I Use an Ice Machine Cleaner or Hand Wash?
Using a cleaner or a solution of warm soapy water and baking soda is best to clean and sanitise your ice maker. These cleaning solutions can help remove bacteria, mould, and mineral deposits without damaging the interior surfaces of the ice makers.
Paul is the type of person who never met a problem he couldn’t fix. He can always be found tinkering with something in his house, even if it isn’t broken! His tips and tricks are often shared on our site. He’s the one you call when something breaks because he has been known to improvise fixes for everything from leaky faucets to malfunctioning dryers.