Last Updated on
Are you ready to take on the challenge of knowing how to test an electric shower? Before we embark on this daunting undertaking, it’s essential that we review some safety protocols. Testing an electric shower can be dangerous if not done correctly, so it’s vital to know what you are doing. Let’s test an electric shower together and make sure all is working as expected – from checking the heating element to testing the thermostat. We can do this – with the right direction and some perseverance, I’m sure you’ll be successful.
Table of Contents:
- Safety First
- Testing the Heating Element
- Checking the Water Pressure
- Testing the Thermostat
- Conclusion
Safety First
Safety is paramount when it comes to testing an electric shower. Before you begin, make sure the power is off and all wires are insulated. It’s also important to wear protective clothing such as gloves and goggles while working with electricity. If you don’t feel comfortable taking on this task yourself, contact a qualified electrician who can do the job safely and efficiently.
Always remember to take safety precautions when testing an electric shower, and now let’s move on to examining the heating element.
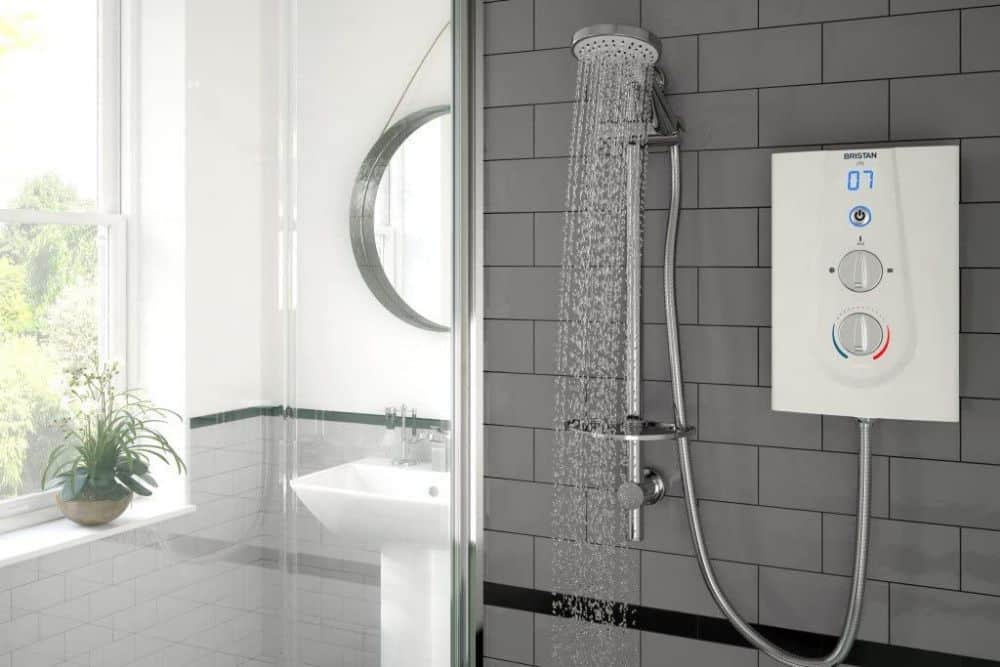
Testing the Heating Element
Verifying the heating component of an electric shower is a fundamental measure for guaranteeing that your shower furnishes you with a secure and pleasant experience. It’s important to make sure that the heating element is working correctly before using it, as faulty wiring can lead to dangerous situations such as electrocution or fires.
The first thing you should do when testing an electric shower’s heating element is to check for continuity with a multimeter. To do this, turn off all power sources connected to the heater and unplug any cords from the outlets. Then, use two probes on either side of the cord leading into the heater and set your multimeter to measure resistance (ohms). If there is no reading on your meter, then there may be a break in one of the wires which need further investigation by a qualified technician.
Examine the heater for any evidence of damage or deterioration, such as frayed wires or uncovered metal parts. If anything looks suspicious then replace it immediately before continuing with testing procedures.
Once everything appears normal visually, plug in your electric shower and turn on its power source while monitoring closely for any sparks or unusual sounds coming from within its casing – these could indicate problems with its internal wiring system which need addressing right away. Additionally, if you notice any burning smells emanating from the inside then shut off power immediately and contact an expert for assistance before attempting further tests yourself.
Finally, test out how well your electric shower heats up water by running some through it at different temperatures – if it takes too long to heat up or doesn’t reach desired levels then this could mean that something isn’t quite right internally so again seek professional help ASAP.
Testing of the heating element was a success, now it’s time to progress onto the next stage – evaluating water pressure in an electric shower.
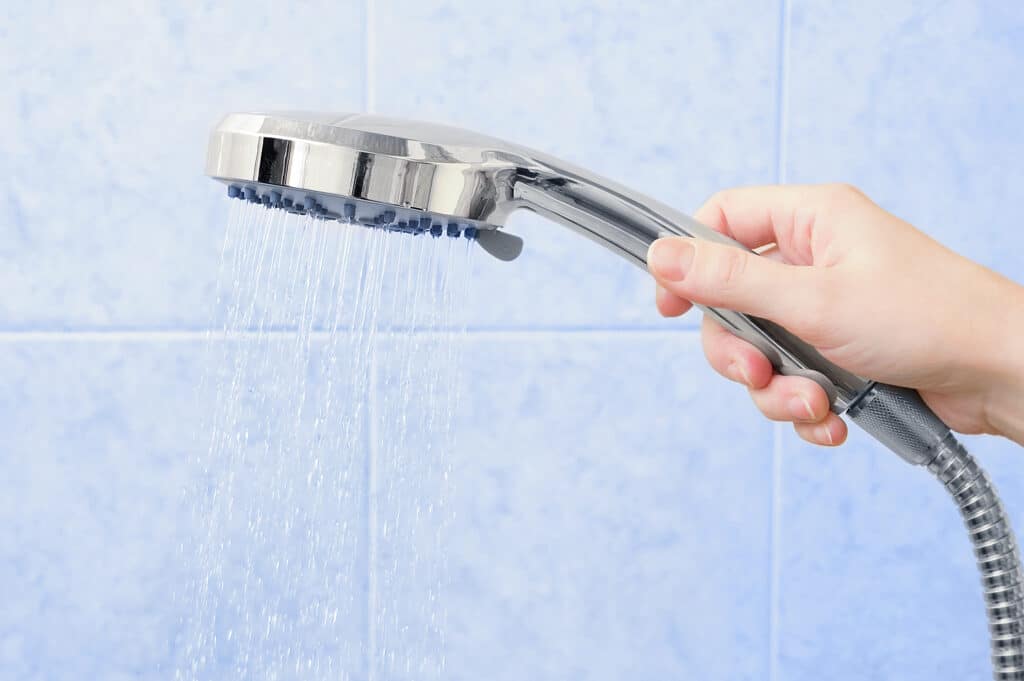
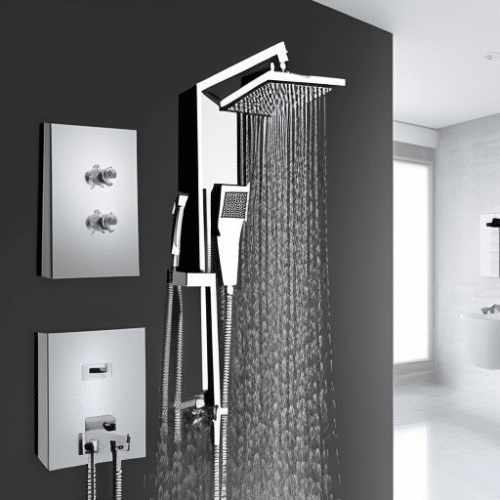
Checking the Water Pressure
Prioritizing safety is of utmost importance when assessing the water pressure of an electric shower. Prior to any maintenance or repair work on the electric shower, be sure to disconnect the power supply for maximum safety. Once the power has been cut off, testing of the water pressure can begin.
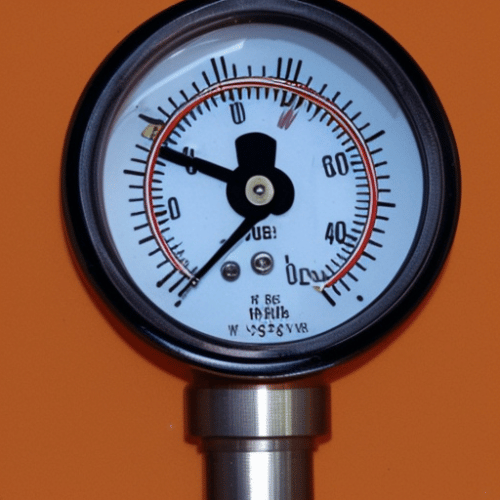
A pressure gauge is the optimal solution for measuring water flow in a shower. You can purchase one from most hardware stores and they are relatively inexpensive. Place the gauge in line with your shower’s hot and cold feed pipes and then turn on both taps simultaneously until full flow is achieved. The reading on the gauge will tell you what kind of water pressure your electric shower has at its current setting.
It is essential to ensure that the water pressure of your electric shower falls within the manufacturer’s specifications for both optimal performance and safety. If it does not, this could be due to either low incoming mains water pressure or blockages in either pipe leading into or out of your electric shower unit – such as kinks in hoses or limescale build-up inside pipework which can cause damage if left unattended by a qualified plumber/electrician/handyman who specialises in bathroom installations and repairs.
Finally, test the thermostat too. It should switch off automatically once set temperature has been reached without any problems occurring during operation, such as sudden drops in hot or cold output.
Once you’ve assessed the water pressure, it’s time to proceed and evaluate the thermostat – take your time and meticulously analyze each element.
Testing the Thermostat
Testing the thermostat of an electric shower is essential for ensuring it functions properly. To begin, make sure the power to the shower is off before you start testing. Once that’s done, turn on the water and set it to a warm temperature. Next, assess if the thermostat is operating properly by activating the water and setting it to a warm degree. If not, adjust it until you get your desired temperature.
Next, test different temperatures by turning up or down the dial on your thermostat and see how quickly it adjusts itself accordingly. Make sure that when you change settings, there isn’t any lag time between when you make adjustments and when they take effect in terms of heat output from your showerhead or bathtub spout. It should be almost instantaneous.
Finally, after all these tests are complete, don’t forget to turn off the power again once finished with testing so as not to waste energy unnecessarily. Testing out your electric shower’s thermostat regularly can help ensure its long-term functionality and prevent any potential problems in future use, saving both money and hassle in repairs or replacements down the line.
Conclusion
Learning how to test an electric shower is not a difficult task, but it does require some caution and attention to detail. Before commencing, ensure that all safety precautions are taken and the instructions adhered to. Once checked, the heating element, water pressure and thermostat of your electric shower can give you the assurance that it is functioning properly. With regular testing of your electric shower, you can ensure that it will provide years of reliable service – so don’t forget to test an electric shower every now and then.
Paul is the type of person who never met a problem he couldn’t fix. He can always be found tinkering with something in his house, even if it isn’t broken! His tips and tricks are often shared on our site. He’s the one you call when something breaks because he has been known to improvise fixes for everything from leaky faucets to malfunctioning dryers.