Last Updated on
Popcorn poppers are incredible appliances with multiple uses. Primarily, people buy them to make exquisite popcorn packed full of taste and flavour. However, these devices are also brilliant for coffee roasting due to their mechanisms and intense heating element.
If you have some green beans and are itching to get roasting, why not check out our below guide? We explain how to roast coffee beans in a popcorn maker in a few easy steps.
Why Roast Coffee Beans?
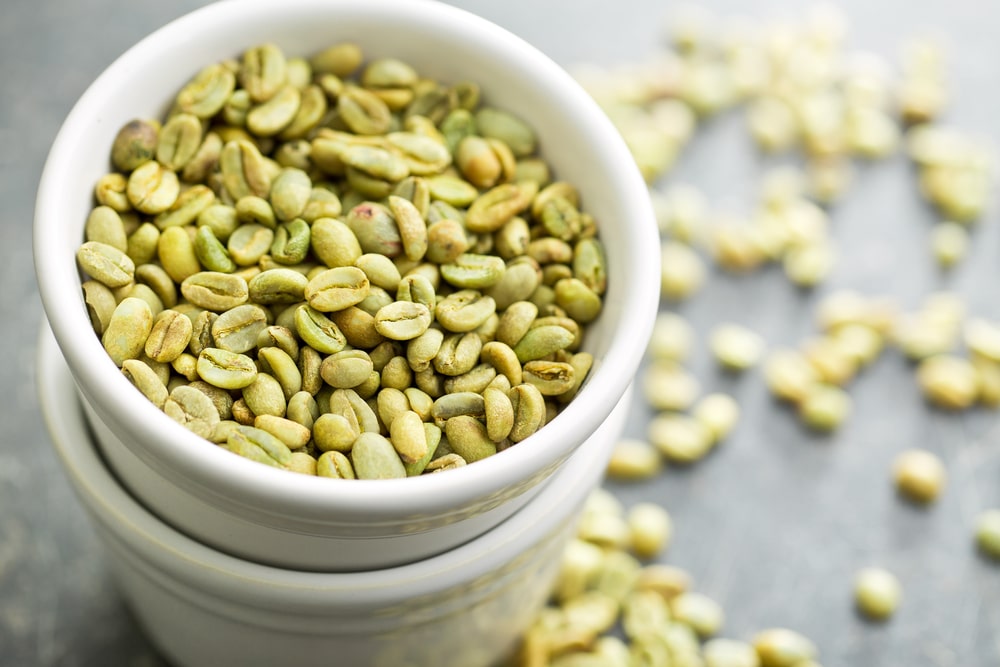
On coffee farms, the beans are stored in their natural green state, so they do not perish or lose any of their utility. This is because all the flavour, essence, and aroma are locked inside the green bean shell. It’s not until the entire roast process is complete that the green coffee beans become usable and, therefore, ready to be ground.
You can buy green coffee beans in this locked state. People do this to experiment with their drinks and because the roasting ritual can be quite fun. Additionally, by roasting them yourself, you can control the intensity, aromas, and flavour to get the beans, and your coffee, exactly as you like.
Roasting Coffee Beans in a Popcorn Maker – An Easy Guide
This method is based on using a hot-air popcorn popper. Other models, like the stovetop popcorn popper, may not be suitable.
Hot-air appliances distribute intensely heated air into a chamber where the popcorn kernels are typically placed. The temperature and the motion of the air build up the pressure and thus cause the exploding reaction we are all familiar with. We can use this to our advantage to roast coffee, too, as the heat and air vents are perfect for this process.
Please be aware that using popcorn poppers to roast coffee can void any warranty as it’s not what they are intended for. We advise checking any warranty, and if this is the case, you will have to be willing to buy a replacement if anything goes wrong (it shouldn’t!).
Roasting coffee is quite simple. The most difficult part is judging when to turn the device off and remove the beans. However, this can also be fun, as you can try different timings to see what flavours and aromas you end up with!
Required Ingredients and Equipment
Luckily, the list of ingredients and tools is short. You can get set up and ready to start roasting your own coffee beans in minutes. You should never need more than the below items:
- Popcorn popper
- Green coffee beans
- Measuring device and/or scales
- Thermometer (optional)
- A colander or bowl
The popcorn popper should be a hot-air system, as stated above. Also, it is ideal if it comes with air vents on the sides. This prevents an excessive build-up of heat and will give you greater control over coffee roasting.
The green coffee beans can be any type you want, but make sure you can roast them. Don’t try this with pre-roasted beans; you will burn them and make them unusable!
Scales are entirely optional. However, it is advised that you only load your popcorn popper with around 3-4 ounces of beans. If you don’t have any measuring equipment, put around a quarter of a cup’s worth of beans in the chamber.
It is also important to have a container handy to let your beans cool after roasting and for storage. As you will see below, a colander or sieve and a bowl can help with the cooling process.
Step 1: Setup Your Popcorn Popper
First, get your popcorn machine out and set it up. The roasting process generally creates smoke, and there can be debris as the beans roast. Therefore, we recommend doing this outside if possible (you may need to use an extension cable).
If you can’t access an outdoor area, try and do it in a well-ventilated place and somewhere you can easily hoover. Make sure that any windows and doors are open in your room, and switch lights on for excellent visibility. This way, you can clearly see the beans’ colour to identify when they are roasted properly.
Step 2: Measure Out Your Beans and Place Them in the Chute
With the device positioned and plugged in, you can measure your beans and place them into the chute. As mentioned in the ingredient list, we recommend using no more than 3-4 ounces of green coffee beans.
If your appliance doesn’t have a chute, simply place the beans directly into the air chamber. You can then replace the lid to help prevent mess.
Step 3: Turn the Popcorn Popper on and Monitor Your Beans
Now comes the fun part! Turn your popcorn-popping appliance on, and be careful. You should NEVER leave the device unattended while it is switched on and roasting. The beans can burn easily, and it’s a relatively quick process, so you need to watch what’s happening at all times.
In most instances, you should have roasted coffee beans in 5-10 minutes. However, there are signs you can listen carefully for to indicate what’s happening.
- You should hear an initial crack as the shells break and expand around 3-5 minutes. After this, there will be a second crack. Your coffee will be drinkable anywhere between these two cracks!
- After the first crack, the beans should look more like coffee and have turned brown. You should notice a pleasant coffee smell too.
- After the second crack, you may see more smoke coming out from the appliance and catch a more pungent smokey smell – don’t worry, this is fine!
Step 4: Remove the Beans When They Are Ready
All you have to do now is remove the coffee beans at a specific time to achieve the taste and aroma you enjoy! Whatever timing you choose, remember that you need to switch the appliance off BEFORE, as the hot air inside will continue to roast until you get the beans out.
If you remove the beans immediately after the second crack, you should achieve a medium roast. Alternatively, if you wait longer and start to hear a rolling crack, expect a dark roast and a much stronger flavour.
Of course, this part takes practice, and you should experiment with different timings to find a roasting level that you are happy with!
Step 5: Let the Beans Cool Down
I just love the days when your brother roasts coffee beans in a popcorn maker and my family drinks the coffee at 6:00 at night. #itscasual
— Erin Rooney (@erinmrooney) July 23, 2013
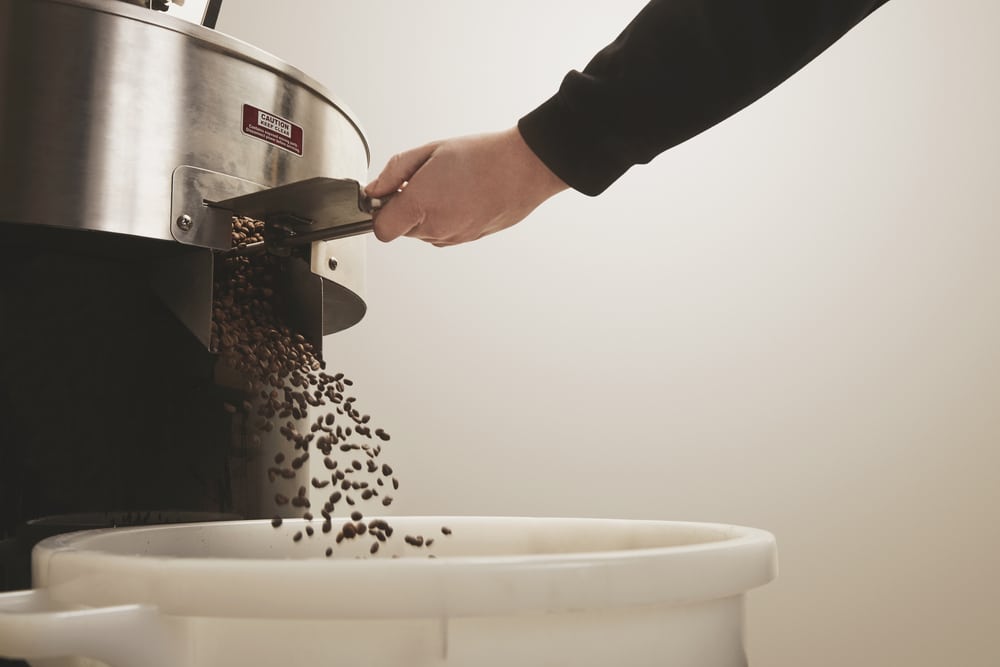
It’s important to let your roasted coffee cool afterwards. The simplest way to do this is to pour the coffee beans into your bowl.
Then, outside, you should continually pour the beans between your bowl and colander. This will speed up the cooling process and allow any excess shell debris and chaff to drain off to reduce the mess.
Cooling your roasted coffee is vital so you can quickly handle and store it. Bear in mind that your roasted coffee beans won’t be ready to use immediately. Ideally, after cooling, they need to be kept in an airtight container in a location without sunlight or moisture.
After 12-24 hours, the coffee should have had the time to degas, and the flavours and aroma should be fully released. Note, however, that the degassing period depends on the type and brand of your beans. You are now ready to make the perfect coffee brew!
Control the Taste of Your Coffee Beans by Roasting Them in a Popcorn Popper
If you have a popcorn popper, you can use it to roast green coffee beans too! These appliances are versatile, and as you can see from the procedure above, it’s pretty easy to roast your own coffee and fully control the flavour and strength of your drinks.
Paul is the type of person who never met a problem he couldn’t fix. He can always be found tinkering with something in his house, even if it isn’t broken! His tips and tricks are often shared on our site. He’s the one you call when something breaks because he has been known to improvise fixes for everything from leaky faucets to malfunctioning dryers.