Last Updated on
Installing an integrated dishwasher is a daunting task, especially if you’ve never done it before. But with the right preparation and know-how, fitting one can be surprisingly simple. We’ll show you how to fit an integrated dishwasher in five easy steps – from what tools you need and preparing the space, to connecting the water supply and securing your new appliance. So let’s get started on our journey of fitting an integrated dishwasher together.
Table of Contents:
- What You Need
- Preparing the Space
- Connecting the Water Supply
- Securing the Dishwasher
- Testing It Out
- FAQs in Relation to How to Fit an Integrated Dishwasher
- Conclusion
What You Need
Installing an integrated dishwasher can be daunting, but with the right tools and materials it doesn’t have to be. Before you start your project, make sure you have all of the necessary items on hand.
First off, you’ll need a screwdriver or drill to attach the dishwasher to the countertop. You may also need screws depending on what type of installation kit is included with your purchase. Make sure that whatever screws you use are compatible with both your countertop and dishwasher so they don’t damage either surface during installation.
Next up are plumbing supplies like hoses, clamps, and fittings for connecting water lines from the sink or other sources to the appliance’s inlet valve. It’s important that these pieces fit snugly together so there aren’t any leaks once everything is connected properly. If possible, try using flexible hoses as they’re easier to manoeuvre around tight spaces than rigid pipes are.
Once you have gathered all the necessary items, it’s time to get ready for installation by preparing the space – let’s dive in.
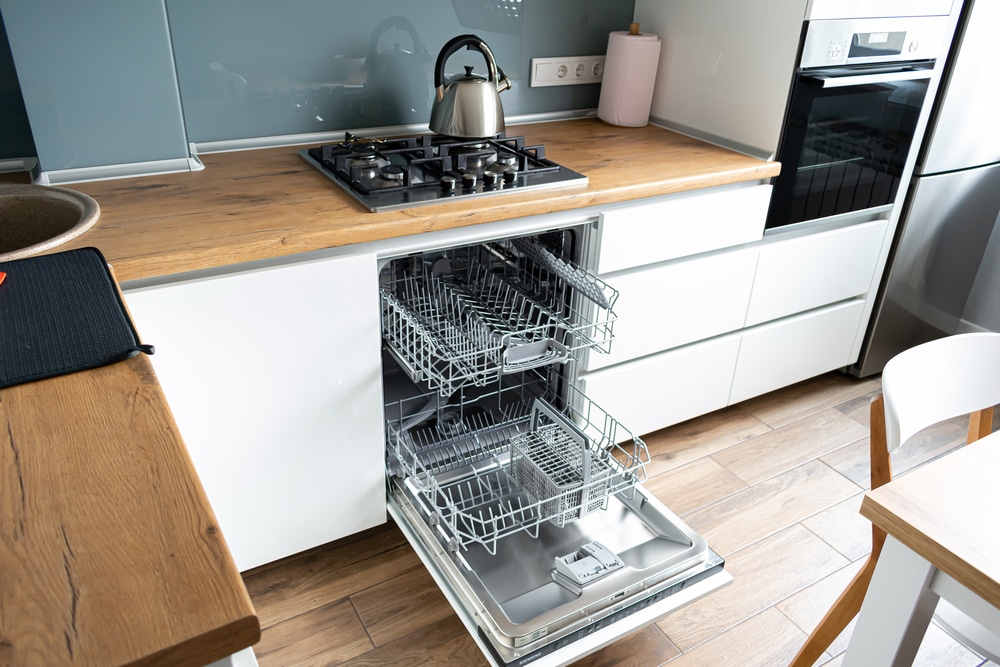
Preparing the Space
When it comes to preparing the space for a dishwasher, there are several things you need to consider. First and foremost, measure your space carefully. You’ll want to make sure that the dishwasher will fit properly in its designated spot before making any purchases or starting any installation process. Measure twice and cut once.
If possible, try to place your dishwasher near an existing water supply line like a sink or washing machine hookup – this makes connecting it much easier later on down the road. If not, don’t worry – installing a new water line isn’t too difficult either (just make sure you turn off the main water valve first.).
Finally, check if your floor is level where you plan on placing your appliance. Having an uneven surface could cause problems with installation down the road and lead to leaks over time if not addressed properly beforehand. Use shims or levelling feet when necessary in order to ensure everything stays secure during use
Once the space is ready, it’s time to connect the water supply and get your dishwasher up and running.
Connecting the Water Supply
Start by turning off the main water valve and disconnecting any existing hoses from the faucet. If you are replacing an old dishwasher, make sure that all of its parts have been removed before proceeding.
Once everything is cleared out, use a wrench or pliers to loosen and remove the aerator from your kitchen sink faucet. This will allow for easier access when attaching the new hose later on. Then, attach one end of your new braided stainless steel hose onto the outlet side of your shut-off valve using two adjustable wrenches in order to ensure a tight seal.
Next, take another length of braided stainless steel hose and connect it between your shut-off valve and kitchen sink faucet’s inlet side using two adjustable wrenches again for extra security. Make sure that both ends are tightly secured so there won’t be any leaks once you turn on the water supply again.
Finally, using two adjustable wrenches, attach one end of a length of braided stainless steel hose to the dishwasher’s hot water intake port located at its rear bottom corner – taking care not to overtighten them as this could potentially damage some internal components. Then connect this last remaining section to your kitchen sink faucet’s outlet side with two more adjustable wrenches – making sure that these are also tightened securely yet not too much so as to avoid stripping their threads.
Now, it’s time to secure the dishwasher in place for use – this will ensure that it stays safe and stable during operation.
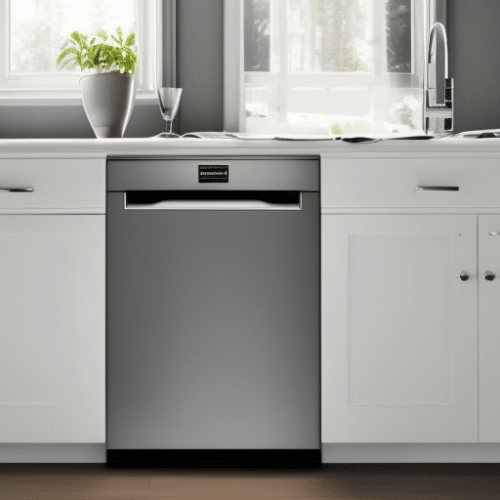
Securing the Dishwasher
Installing a dishwasher is an important part of any kitchen renovation. It can be intimidating, but with the right tools and some basic knowledge, it’s not as difficult as you might think. The first step in securing your dishwasher is to make sure that it is level on all sides. You can use a carpenter’s level or a bubble level to check for evenness. If the dishwasher isn’t completely flat, you’ll need to adjust the feet until it’s perfectly level before continuing.
Once your dishwasher is properly levelled, you will need to secure it in place with screws or other fasteners such as bolts or washers. Start by finding studs in the wall behind where your dishwasher will be installed and mark them off with a pencil so that you know where they are when drilling holes for screws later on. Next, measure out two inches from each side of the appliance and mark those spots too; this will ensure that there are no gaps between the wall and your new appliance once everything has been secured into place.
Now comes the time for drilling holes into both sides of the cabinet frame (where applicable) using either wood screws or lag bolts depending on what type of material your cabinets are made out of (wood vs metal). Make sure that these screws go through both pieces of material securely before moving onto attaching them to their respective walls/studs via anchors if necessary (for drywall applications). Once everything has been drilled into place correctly then simply tighten down all fasteners accordingly using either an electric drill/driver or manual screwdriver/wrench set – whichever works best for you.
Once the dishwasher is secured in place, you can now move on to testing it out and ensuring that all of its components are working properly.
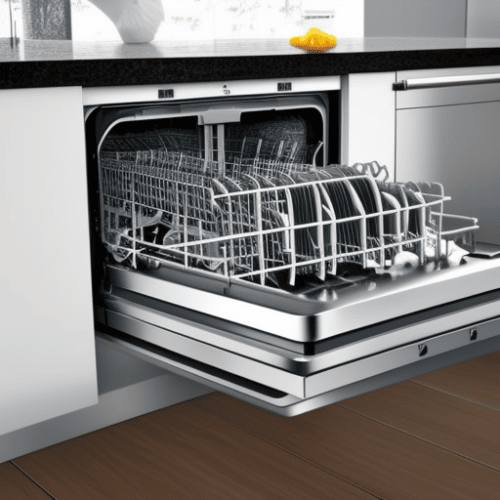
Testing It Out
Before you can start using your new dishwasher, it’s important to test it out first. This will help ensure that the appliance is working properly and that all of its components are functioning correctly. Here’s a step-by-step guide on how to do this:
Step 1: Check for Leaks
Make sure there are no visible signs of water leaking from any part of the dishwasher before running a cycle. If you find any, contact the manufacturer or repair service immediately.
Step 2: Run an Empty Cycle
Before loading up your dishes, run an empty cycle with just detergent and hot water inside the machine. This will help flush out any debris or dirt that may have been left behind during the manufacturing or shipping process, as well as give you a chance to make sure everything is in working order before use.
Step 3: Listen for Unusual Noises or Vibrations During Operation
As the dishwasher runs through its cycle, pay attention for any unusual noises coming from within the machine such as grinding sounds or rattling noises which could indicate something isn’t quite right with one of its components like a pump motor or fan blade being loose/damaged etc. Also be aware if it’s vibrating more than usual which could mean there’s something blocking its path such as food particles stuck in between some parts somewhere inside causing friction when spinning around etc
Step 4: Check Water Temperature and Pressure Levels
Once done running an empty cycle without dishes inside, open up the door and check if the water temperature & pressure levels were satisfactory by feeling them with your hand (careful not to burn yourself). Hotter temperatures should be achieved when washing heavily soiled items while lower temperatures should suffice for lightly soiled ones – adjust accordingly depending on what type of wash load you’re dealing with at times throughout usage going forward
Step 5: Inspect the Detergent Dispenser Compartment
This is to ensure that nothing is clogged and obstructing proper cleaning action due to a lack of suds formation over time. Additionally, check if the dispenser lid opens and closes smoothly without having to apply too much force; otherwise this could lead to future issues after prolonged usage.
By following these steps carefully each time prior to using your new dishwasher, you can help ensure maximum performance and longevity over the years to come.
FAQs in Relation to How to Fit an Integrated Dishwasher
How are integrated dishwashers attached?
Integrated dishwashers are attached to kitchen cabinets or units, typically at the same height as other built-in appliances. This is done by securing them with screws through pre-drilled holes in the side of the unit and into the back of the appliance. It’s important to ensure that all connections are secure before use, including water supply hoses and electrical cables. Additionally, it may be necessary to fit a plinth or filler panel between your cabinet and dishwasher for an aesthetically pleasing finish.
How do I know if the integrated dishwasher will fit?
When it comes to knowing if an integrated dishwasher will fit, the best way to be sure is by measuring. Measure the width and height of your kitchen cabinet opening, then compare those measurements with the size of the dishwasher you are considering. If they match or are slightly larger than the appliance’s dimensions, then it should fit perfectly. Additionally, check for any obstructions that may prevent installation such as pipes or other fixtures in order to ensure a successful installation. With these simple steps, you can be sure that your integrated dishwasher will fit perfectly in your kitchen.
Conclusion
Congratulations! You have successfully learned how to fit an integrated dishwasher. Now you can enjoy the convenience of having a dishwasher without compromising on your kitchen’s aesthetic. Installing an integrated dishwasher is not as difficult as it may seem, and with this guide, you should be able to fit one in no time at all. So go ahead and give yourself a pat on the back for fitting that integrated dishwasher like a pro.
Paul is the type of person who never met a problem he couldn’t fix. He can always be found tinkering with something in his house, even if it isn’t broken! His tips and tricks are often shared on our site. He’s the one you call when something breaks because he has been known to improvise fixes for everything from leaky faucets to malfunctioning dryers.