Last Updated on
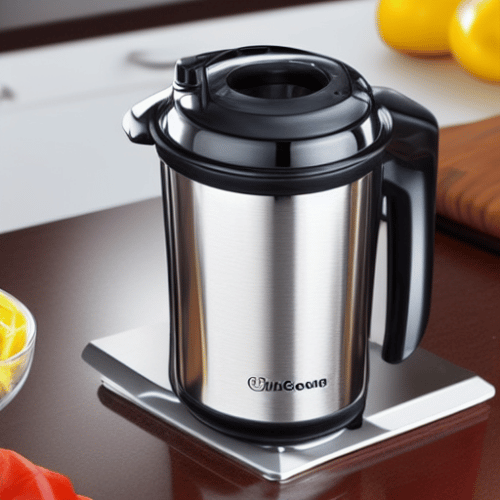
Are you thinking about buying a soup maker? That is a great idea! If it is your first soup maker, it’s essential you know how to use it so you can fully enjoy its features. Don’t worry; we have some easy-to-follow steps and tricks on using these appliances in today’s article. We’ve tailored our content to help you make flavourful soups from the comfort of your own home. Check out all information you need on how to use a soup maker below!
How to Use a Soup Maker
Any idea where to begin with soup making? Then you’re in the right place because we have some tips and tricks to keep in mind the next time you use a soup maker—or perhaps to convenience you to purchase one.
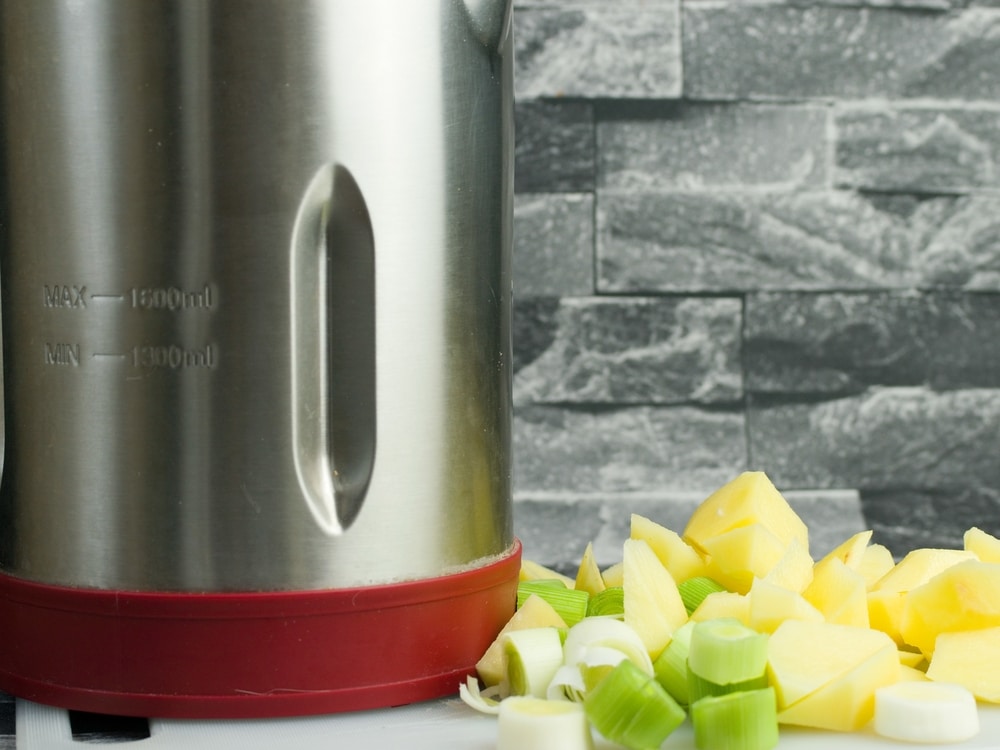
Step 1: Dice Your Ingredients Into Small Pieces
The first step you want to take is to get your fresh ingredients (fresh ingredients always offer a more flavourful soup than frozen alternatives) and chop them into small, evenly sliced pieces.
However, if you’re considering a chunky soap, you might want to cut the vegetables into larger pieces. Just ensure that each ingredient is around the same size, so the soup cooks evenly.
Step 2: Cook Meat, if Applicable
If you’re interested in recipes with meat, you’ll need to cook your meat beforehand because soup makers don’t have a high enough setting to cook meat thoroughly.
Step 3: Sauté Your Ingredients
Not all soup makers are the same, which means that some appliances come equipped with a sauté setting (this is great for convenience, saving you time, and general ease of use). Remember that you don’t have to sauté the ingredients before adding them to the soup maker. It’s completely down to personal preference.
However, there are many benefits to sautéing ingredients before adding them to a soup maker, such as speeding up the cooking process since you’ve already begun cooking the ingredients. Above all, sautéing releases aromatic flavours. Thus, making your soup recipes more delectable with the result.
Step 4: Add Your Chopped Ingredients to the Soup Maker
It’s okay if you choose to skip step three, but now it’s time to add your vegetables to the soup maker. All the while, ensure that you’re away from the fill line because you don’t want to overall the soup maker. Some appliances come with a couple of lines: one to show where your chopped ingredients should fill up too, and the second line indicates the maximum amount of liquid to add to the soup maker.
Step 5: Add Stock and Spices
Now it’s time to add liquid to your soup maker, with the most common being stock, but you might also want to add water or coconut milk depending on the recipe you’re making. This is also the step where you’ll want to add more flavour to your soup. So, consider adding salt, pepper and spices, so they cook with the vegetables and create a delightful flavour.
Step 6: Add the Lid and Choose the Appropriate Setting
Now, you’ve already added the spices you want for your soup. Don’t worry if you’re going to add more later because you can always adjust the flavouring at the end to suit your taste. Next, add the lid to the soup maker and choose the appropriate setting. Soup makers typically come with these settings: coking, blending, heating, and resting.
If you haven’t cooked your food beforehand (which you don’t need to if your soup maker has this setting), you can choose the cook setting. You’ll want to choose the blending option to much the vegetables together. A high-end soup maker will come with a timer setting so that you don’t have to check back on it constantly.
Step 7: Check the Flavour and Texture
Once the soup has cooked, which usually takes around 20–30 minutes, take a spoon and place it in the soup to check the consistency. Some people prefer a chunky recipe based on your preferred texture, while offers prefer a smooth soup. The bottom line is it’s your choice.
Then it’s time for the taste test. You can always add more spices to enhance the flavours. Serve straight away or store in the fridge and use the heat setting on the soup maker to reheat your vegetable soup later on or another day.
Safety When Using a Soup Maker
Your safety is the most important thing when using these appliances, which is why we’ve curated a list of the top safety features to remember when using your appliance at home.
- Strictly keep to the minimum and maximum levels; they’re there for a reason.
- Never place the entire soup maker in water and read instructions on safely and thoroughly cleaning your appliance.
- Keep your soup maker away from the edge of the kitchen counter to prevent it from falling off during use.
- Never remove the lid during use. Most appliances will cut out if you do this, but they may still splash hot ingredients on you.
- Always unplug the soup maker when it’s finished making your soup before you lift the lid and remove the contents.
Factors to Consider When Buying a Soup Maker
Now you know how to use a soup maker, are you ready to benefit from them? Then you’ll need to remember these factors below to help you with the buying process.
Size
There are many different size soup makers on the market. Before you consider buying one, bear in mind the number of people you’ll typically serve. If it’s just for one portion, opt for a 400 ml soup marker. But you can purchase some machines that go up to 1.8 litres, making these sizes ideal for making soup for a party of up to four people.
Settings
A soup maker is a lot more versatile than you think, and you can make delicious foods with these appliances. You can use a soup maker to make smoothies, frozen drinks, milkshakes, ice, steaming recipes, sauce, jam, and even cook meat using the sous vide function.
Cooking Time
Not all soup makers cook food simultaneously, which is why it’s important to consider how long your machine takes to make delicious recipes with fresh veg. Generally speaking, a soup maker can make soup from scratch in less than 10 minutes. However, this means that you need to have the blender on the highest setting for long enough. On average, a soup maker will cook, sauté and chop in less than 30 minutes.
Dishwasher-Safe Models
The chances are that you’re looking for a low-maintenance soup maker, which might mean contemplating a dishwasher-safe model. If so, look into your interested model to check that it comes with dishwasher-safe components for more efficient cleaning.
Additionally, you might want to consider a soup maker with a non-stick coating to prevent food from burning and sticking to the bottom, thus, making your life a little easier during the clean-up stage.
Above all, the best soup markers are equipped with a cleaning mode that allows you to press a button, and the appliance does most of the hard work for you. However, you’ll need to consider increasing your budget for this type of luxury.
However, if you are going to clean your soup maker manually, we recommend you read our guide on how to clean a burnt soup maker.
8 Reasons to Buy a Soup Maker
Do you want to make soup at home? Then you might want to consider using a soup maker for homemade recipes. If you’re not convinced whether these appliances are a good choice for you, below are some of the reasons to consider one today.
A Great Way to Get Vitamins and Minerals
We all know that soup is a convenient and tasty way to get more goodness into our bodies, such as lentils, potatoes, carrots, onions, broccoli, and more. However, the preparation and keeping an eye on the soup as it cooks can be off-putting. Fortunately, a soup maker makes it more likely that you’ll consume more nutrients because you already have the appliance to do the hard work for you.
Handles the Entire Soup-Making Process for You
Once you’ve decided what soup recipe you’ll make and cleaned and cut up your food into evenly sized shapes, you can throw everything into the soup maker, and the appliance will take care of everything else for you. This not only saves you time but stress since you won’t have to remain in the kitchen checking on the soup’s status.
Minimal Cleaning Required
Ordinarily, making homemade steps involves many steps, which means you have various chopping boards, trays, and pans in use simultaneously. However, soup makers require you to throw all of the ingredients into the machine without washing up a messy pan.
Best of all, once you’ve made your soup in the soup maker, you can then throw rinse the appliance, add washing-up liquid, and start the soup maker again. It’ll then blend to self-clean, targeting all of the components—including the blade. As a result, this technique will make your life a little easier by requiring less clean-up on your end.
Make Use of Your Leftovers
Throwing away your leftovers is not only bad for the environment but for your wallet, too. Improve your habits by making delicious, nutritious soups with your leftovers by regularly using a soup maker. Because you’ll be making the soup recipe, you’ll know what ingredients are going into your dish, so there are no nasty, unhealthy surprises.
You’ll also be surprised at some delectable creations you can make with leftovers, such as chicken pieces, potatoes, cream, and squash.
Powerful and Quick to Blend
Since soup makers are designed for, well, soup, they’re equipped with powerful blender settings to perfectly mix everything at the touch of a button. Some high-end soup makers even have an auto-off button, so the appliance switches off after a certain amount of time.
You can even choose the best setting for you based on the consistency you prefer. So if you like your soup slightly chunky, you can choose the shorter blending function. What’s more, a soup maker can cut through and blend chunky ingredients, such as potatoes, to dice them up thoroughly.
Retains Nutrients
A soup maker retains all of the vegetables’ natural nutrients by not overboiling them. So you’ll know that you’re getting the most out of your ingredients, creating a healthy, nutritious dish for the entire family.
Easy-to-Adapt Recipes
You can adapt your soup maker to fit in with your household. So if you want to make soup just for one, that’s completely possible. But you also have the option to create multiple dishes for our household, if you prefer. Having this ability to adapt to your needs and family makes soup makers an excellent choice.
Make a Smoothie, Too
Speaking of versatility, did you know that you can also make a smoothie from home with your soup maker? This appliance is a sure way to get the entire family healthy in no time!
Fixing Soup With the Wrong Consistency
Not every soup that you make will be perfect. If your soup is too thick for your liking, add some more stock, cream, or water to the mixture once you’ve cooked it.
Stir the soup thoroughly to check the consistency. On the other hand, if your soup is too thin, add some mashed potato or create a paste using a combination of cornflour and water and add it to your soup at the end. You can also buy soup thickeners readily made from supermarkets for a quick fix.
Make Your Vegetables Tastier
Today we made harvest soup in Mrs Morton’s soup maker. We put all sorts of harvest vegetables inside. pic.twitter.com/TGK8GzPziD
— Holbeck class (@holbeckcuckney) October 1, 2019
When your soup is bland, you rely on salt to enhance the taste. But you can prevent a bland soup in the first place by cooking your vegetables the correct way. Once you’ve chopped your ingredients, sweat them on the hob using butter to release moisture and enable the vegetables’ natural sugar to flow. This process will make your ingredients even tastier.
Plus, it only takes a couple more minutes to add this stage to your cooking regime. You’ll know that you’ve cooked your vegetables for long enough when they release an aroma and begin to have a slight gloss to their exterior.
Frozen Vegetables Are Fine
It’s perfectly okay to use frozen vegetables in your soup. This is a great way to ensure that you always eat clean and healthy at home. However, ensure that you allow the veg to thaw before you add them to the soup maker. Otherwise, they won’t cook properly. You might also find that the extra water from the frozen vegetables can make the result too runny.
Consider That Foods Take Different Times to Cook
Although a soup maker is convenient for cooking various food types simultaneously, you still need to consider that not everything takes the same amount to cook thoroughly. Carrots and potatoes take longer to cook than peas and sweetcorn, for example. Therefore, you may need to add these foods to the soup maker first. You can also dice them into smaller pieces to help them keep up with the rest of your foods.
Making the Best Soup
Using a soup maker is easy since the appliance does most of the work for you, and you can leave it alone to work its magic. But you will need to set aside some time to dice your ingredients and, ideally, buy the freshest food you can for an appetising soup. Or, to save time, you can purchase pre-made soup packets with the veg already chopped up for you.
With our guide above on how to make a soup maker, you can now cook your best soup recipe!
Amy is a U.K.-based writer and editor with a penchant for helping consumers find the best home products for their needs, as well as providing easily digestible guides for living better at home. Her dedication to her work means she can usually be found elbow-deep in research or hunting down samples of the latest and greatest on behalf of her readers.
An avid DIYer herself, Amy’s passion lies in teaching others how they too can achieve their dream homes by tackling some of those pesky projects themselves! Whether it’s building furniture from scratch or turning an old dresser into a coffee table, Amy is always happy to share what she knows about making your house feel like home without spending a fortune.