Last Updated on
Making and altering clothes and other crafts is significantly easier with the help of a sewing machine. While using a sewing machine may seem tricky at first, it is quite simple to use once you become acquainted with all of its parts as well as the sewing process.
This article will teach you how to use a sewing machine and offers some pro tips and tricks to help you get the most out of your machine. Hopefully, by the end of our sewing machine guide, you will have the answer to how a sewing machine works. Also, it is most likely that you will be able to use a sewing machine easily and start sewing projects as soon as today!
Before You Begin: Sewing Machine Basics
Before anything else, let us go through the basics to make sure you understand everything about sewing machines.
Read the Instruction Manual
Whether you are using an old sewing machine or a new one, reading the user manual can make all the difference when it comes to understanding your device. The manual can help teach you about your sewing machine and whether it is capable of just regular sewing with a straight stitch or a variety of different techniques, as many newer computerized sewing machines are.
The manual can also help you troubleshoot any issues that arise when learning how to use a sewing machine. To add, it will also likely contain tips on how to thread a sewing machine properly.
Getting to Know Your Sewing Machine’s Parts
If you want to learn how to use a sewing machine, the first thing you should do is get acquainted with all of the major parts. Knowing where each part is located on your particular machine will help you access them easily and quickly when the time comes.
On/Off Switch
Of course, knowing where the on/off switch is located is essential when learning how to use a sewing machine. On most sewing machines, the power switch is located on the side of the machine near where the power cord attaches.
Before you start sewing, check the sewing light works and evaluate the brightness. If your machine has a dimmer sewing light, you may want to place it in a well-lit area when you sew. Typically, the light automatically turns on and off with the power switch on a sewing machine.
Needle and Needle Plate
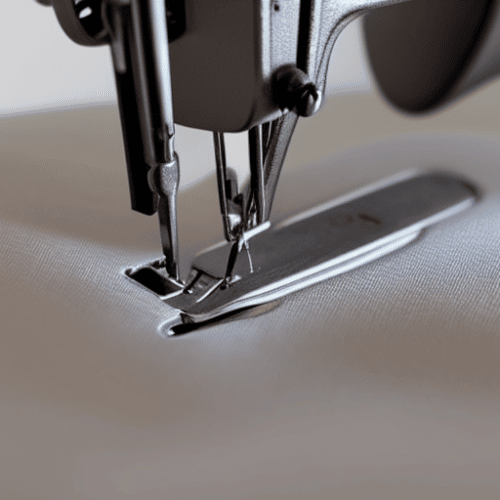
The needle is situated under the light on a sewing machine, typically in the centre. Beneath the needle lies, a metal plate called the needle plate or throat plate. The throat plate helps guide the fabric under the needle and typically has a measurement indicator on the side to help you maintain an even seam allowance while you sew. While the needle position is mostly stationary, it can shift depending on the stitch you select.
Presser Foot and Presser Foot Lever
The presser foot is a metal attachment located beside the needle, and the lever is located behind the needle area on the back of the machine. Raising the lever lifts the presser foot so you can insert fabric under the needle. Lowering the presser foot and lever holds the fabric in place and helps feed it through while sewing. Presser’s feet are also interchangeable depending on the stitch you are sewing with.
Bobbin and Shuttle
A bobbin is wound with thread and inserted into a bobbin case or shuttle. The bobbin case is often located directly next to the needle plate or slightly below it. The shuttle has a lid that opens and allows you to insert the bobbin. A bobbin tension screw on the bobbin case keeps the case steady while you sew and aids with thread tension.
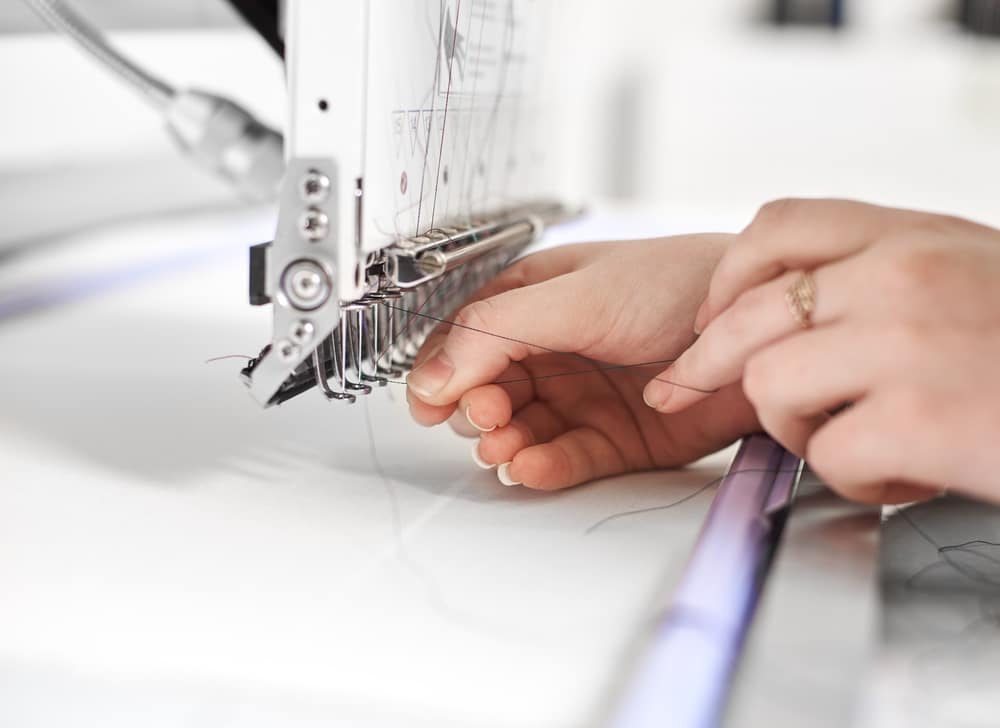
Upper Threading and Thread Spool
The upper threading on a sewing machine starts with the thread spool, where the spool of thread is placed and held while sewing. Aside from the spool, the upper threading parts are situated around the top and front of a machine and guide the top thread through the machine until it reaches the needle.
Foot Pedal
The foot pedal on a sewing machine is essentially the accelerator or speed control of the machine. It is connected to the machine with a cord that allows you to situate the pedal on the ground beneath your sewing table. Pressing the pedal determines how fast or slow the machine will sew. Some foot pedals have a speed regulator allowing you to choose between low and high-speed limits. When learning how to use a sewing machine, you must familiarise yourself with the pressure needed for your foot pedal.
Stitch Selector
The stitch selector on a sewing machine is located on the front of the main body and allows you to customize the different stitches produced by the machine. Depending on your machine, you may have a wide variety of stitch options.
For example, a more advanced computerized sewing machine will have more stitch options than simple straight stitches. Look for the stitch length and width adjustment buttons as well as zig-zag and decorative stitches.
Tension Dial
The tension dial helps you to adjust the tension on the thread to ensure the stitches are even and taught, but not so taught that it causes the fabric to bunch. Sewing machines typically have their tension dial located on the top or front.
Hand Wheel
The hand wheel is located on the side of a sewing machine. It allows you to sew manually, at a much slower speed, and with more control than the foot pedal. The hand wheel also enables reverse stitches, which is an important step when learning how to use a sewing machine.
What Do You Want to Sew?
Before you learn how to use a sewing machine, you will have to decide what you want to sew or make. You will also want to gather supplies. Thread, fabric, scissors, and possibly a pattern cover the basic supplies needed but depending on the sewing project, you may need a few more things like tailor’s chalk and iron, and more.
If you are unsure of what to sew, plenty of beginner sewing projects and sewing patterns are available online and in fabric and craft stores to help you get started and give you some ideas. Or, maybe you want to start with something even easier, like hemming pants. Either way, once you figure out how to use a sewing machine, the possibilities will be virtually endless.
How to Use a Sewing Machine: A Guide
Learning how to use a sewing machine will take some practice to get perfect, but there’s no reason not to start right now.
Step 1: Wind the Bobbin
First, you will need to prepare your sewing area by getting your machine and thread ready. The first step is making sure you have a bobbin with the correct colour thread.
To wind a new bobbin, turn your sewing machine on, put the thread on the spool pin, and put an empty bobbin on the bobbin winder. Next, wind the end of the thread around the top part of the thread guide and over to the bobbin winder. Then, insert the thread end through the tiny hole on top of the bobbin and shift the winder to the correct position, so the needle doesn’t move while you wind the bobbin.
Next, start winding the thread by pressing the foot pedal. You want the bobbin thread to wind evenly, so don’t go too fast. When you are done, take the bobbin off and move the winder back to its normal position.
Pro-Tip: There are two main types of bobbins, rounded and flat, and sewing machines are only compatible with one type. If you try to use the wrong style, it could clog the machine with thread and stop it from working.
Step 2: Thread Your Sewing Machine
Now it is time to thread your sewing machine. To start, slide your thread over the spool on top and wind the end through the upper threading. Again, follow the specific steps in your manual to get this right. If any part of this process is done incorrectly or left out, your machine will not work.
Typically, the upper threading starts near the spool, goes through a series of loops until it reaches the bottom, and then threads the needle. Most machines also mark the path the thread needs to take on the front and top of the sewing machine with tiny arrows. When you have a threaded needle move on to the next step.
Step 3: Insert the Bobbin
You will insert the bobbin inside the shuttle or bobbin case to complete the threading process and close the lid with the bobbin thread sticking out. Often the shuttle will show you which direction the thread end should be facing.
To join the bobbin thread and the upper thread, turn the hand wheel a couple of rotations. This will cause the needle to drop down and join the two threads. To finish, pull the threads towards the back of the sewing machine in preparation for sewing.
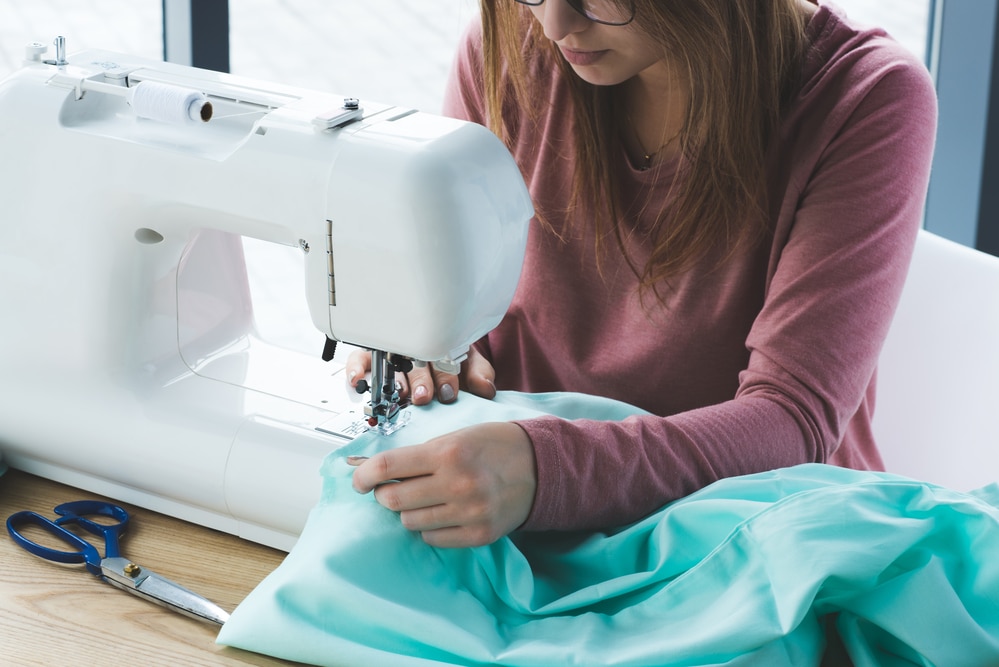
Step 4: Lift Presser Foot and Position the Fabric
When the thread is ready, lift the foot and insert the fabric you are sewing. Position the fabric below the presser foot and line it up with the needle and the specified seam allowance length. Most machines have a measurement guide on the needle plate to help you maintain a straight line and the correct seam allowance while sewing seams in the fabric.
Pro-Tip: Many people like to sew a small piece of test fabric to ensure the material’s tension and stitch length are correct before jumping straight into the main project. This can be particularly beneficial when sewing thin fabric that won’t hold up well if it has to be unstitched and restitched.
Step 5: Lower Presser Foot and Select the Stitch Settings
When the fabric is in place, lower the presser foot to secure its position. Then, select the stitch you want to use for your project. Most sewing machines allow you to choose both the stitch length and the stitch shape.
Most sewing projects, especially beginner projects, use a straight stitch, but some call for decorative stitches or a zig-zag stitch depending on the material and the project itself.
Step 6: Secure the First Stitches
You will want to anchor the thread with something called backstitching or reverse stitching to start any seam. Sew about two or three stitches and then push the reverse stitch button or lever and stitch a couple more stitches in reverse. This will anchor the thread and make a more secure seam in the end.
You can either gently push down on the foot pedal or use the hand wheel for the first couple of stitches. Either way, make sure to hold the needle and bobbin thread from behind for the first couple of stitches, so the sewing machine does not suck them back up and unthread the needle.
Pro-Tip: After the first few stitches, check to make sure the thread tension is correct and adjust as needed. The thread should lie against the fabric without any excess loops protruding from the surface. It should be taut but should not cause the fabric to bunch or pull.
Step 7: Start Sewing
Once the seam is anchored, it is finally time to start stitching. Gently press the foot pedal to activate the needle, and the fabric will automatically start moving under the needle.
Hold the fabric loosely and guide it into the machine, so you sew a straight stitching line. Stitch forward until you reach the end of the seam, removing any pins as you go. Take care not to let the needle come in contact with any pins, or it could damage or break the needle, forcing you to replace it.
Step 8: Reverse Stitch the End of Each Seam
When you come to the end of the seam, you will want to secure it, just like you did with the first stitch. Push the reverse stitch lever or button and sew a few stitches in reverse to anchor the end.
Then, release the reverse stitch button and raise the presser foot. Extract the fabric and cut the thread ends, disconnecting it from the machine to finish the seam.
Step 9: Repeat Until Your Project Is Complete
Repeat steps #4 through #8 until your sewing project is complete. When you are all sewed, cut any loose thread ends and turn off your machine. If you made it this far, you could safely say you know how to use a sewing machine.
Keep Calm and Start Sewing
After reading through our article on how to use a sewing machine, you should be well on your way to starting your sewing journey. Whether you are new to using a sewing machine or have not used one in a while, remember to familiarise yourself with the different parts of a machine, thread it with care, and adjust the tension as needed, and you will do great. Happy sewing!
Let us know what you think in the comments below.
Emily is a woman of many talents. She has a B.A. in English and enjoys writing. Emily loves accessorising her home with quality products that not only serve a purpose but also enhance the overall convenience and tranquillity of her living space; there’s nothing like coming home to your own personal sanctuary after a long day! She loves anything that can make life easier or more comfortable—from dishware to furniture to lighting fixtures.