Last Updated on
While it takes some time to understand how to set up planer thicknesser blades effectively, it’s well worth the effort. Though the process is time-consuming, it’s also necessary to ensure you can get the most out of your machine.
Whether you’ve bought your planer thicknesser system second-hand or you’ve purchased the item brand-new, everything needs to be set up correctly.
You’ll need to align the surfaces for your machine, make sure the system is properly cleaned, and use the right method to position your blades according to your requirements. Not only will an adequate setup make your product more effective, but it could also help preserve your safety.
What to Do Before Setting up Your Planer Blades
Before you begin setting up your planer knives, it’s important to clean everything correctly. Most planer thicknessers come with some cast iron parts, such as the infeed table, outfeed table, and fence. These components are usually smothered in protective wax or grease to stop the surfaces from rusting. You may need to remove these substances before you get started.
Various useful cleaning substances on the market can rapidly get rid of unwanted grease on your machine. All you need is a little of the right solution on a lint-free cloth to scrub down your surface. Finally, before setting up your planer blades, ensure the wood you are using has been coated with a formulated wax for better durability.
After cleaning your machine, you’ll also need to set your fence. Most users will generally set it to 90 degrees using a square placed against the outfeed table. You can usually find an adjustment knob at the back of the fence assembly. Using a precision ruler, ensure the distances between the fence on the outfeed and the infeed table are equal.
Setting up Your Planer Blades
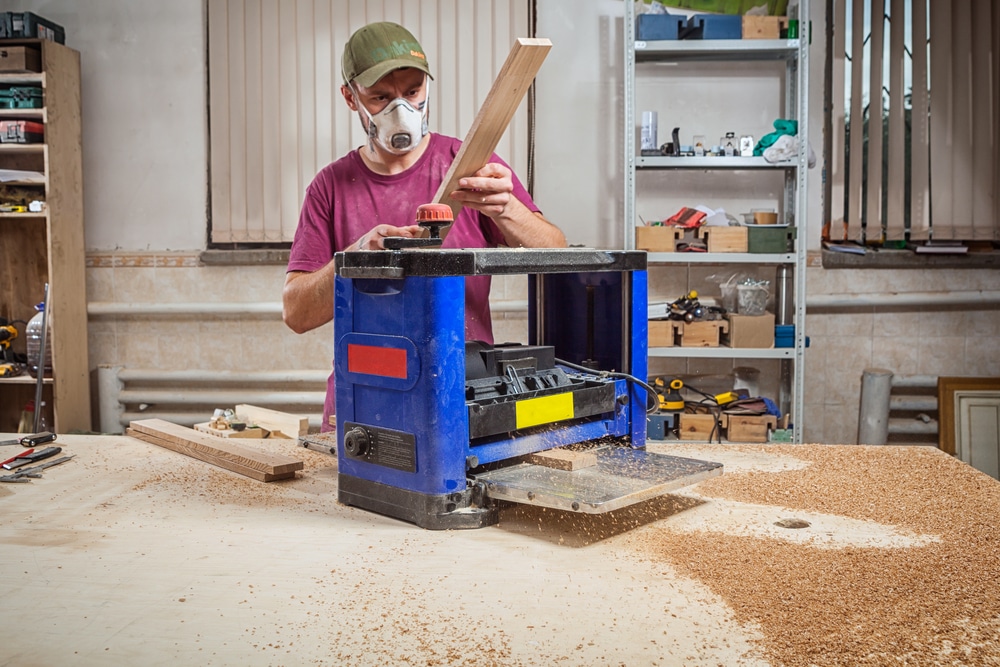
Setting up the blades is perhaps the most complicated part of getting your device ready for projects. Though this process is considered relatively long-winded and tedious, it requires plenty of care and attention to ensure your projects are accurate.
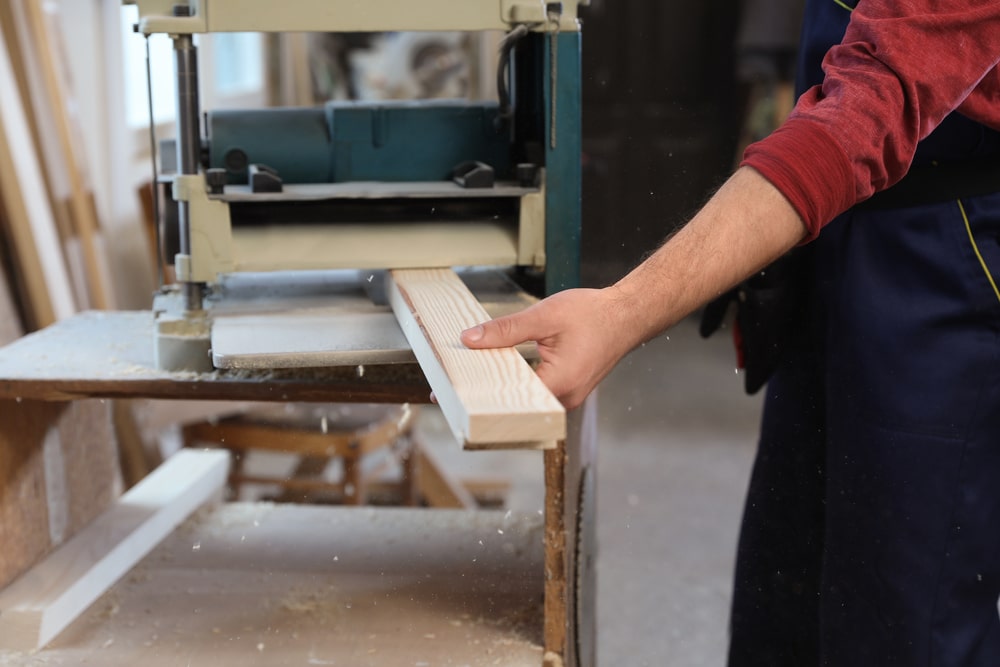
Start by looking at the infeed table and outfeed table. The outfeed table should be fixed in place, with the blades placed fractionally above them. If they are too high, this can leave a scoop at the end of your wood. Set them just a little higher than the outfeed table to get a positive feel on each cut. Before changing the position of the planer knives, make sure you unplug the machine.
Once your machine is switched off:
- Put your blades in the estimated correct position for your system, and nip them to hold them firmly in place. Level your tables with each other.
- Rotate the blade out of the way and get a small length of wood. Mark the wood around 15mm apart, and put the first mark level with the outfeed table edge.
- Rotate the blade so it advances and catches the timber. This space will be your guide. Adjust the blade and try again until you get the right results.
Using a Magnetic Knife Setting Jig
Since correctly setting your planer knives up can be quite difficult, most people prefer to use a magnetic setting jig. This solution helps users configure a planer knife accurately and quickly in a machine according to their required depth and at the exact same height, thanks to a micrometre scale. This is extremely important, as a slight difference can move the cut, leading to an uneven surface.
To use a magnetic jig, clamp the product into the spindle, so the magnet levitates above it, and adjust the screw until the magnet connects. This will give you a zero value for the magnet height. Do the same for both of your parts and lock the magnet in place.
Setting Your Knives on the Table
Insert your blade and a wedge of wood into the groove on the spindle. Then place the jigs on the beginning and end to hold the knife in the same place. The jigs should be perpendicular to the spindle’s axis. Unlock the first jig and lift the knife over the spindle by around 1.1mm, using the adjustment screw. Lock your jig in this value, and set the same value on the opposite one.
Use the same pre-set in the jig for every other knife in the spindle. When you’re ready, place the jig on the table surface and set the height of the central magnet so it touches the table surface. Perform the same action for the other jig. Next, remove the jigs and place a knife and wedge into the groove.
Set the jigs on the spindle so the left magnet is on your outfeed table and the right is on the infeed table. The central magnet should hold the knife in place. Unlock all the jigs and alter the knife height by adjusting the setting screw by a single turn, then lock the jig in place. Adjust the position on the opposite side, securing the jigs and wedge screws accordingly.
Fit the remainder of your knives using your pre-set jigs, keeping the setting screws in place. Finally, you’ll be able to check the blade setting using a small prism that should move about 4mm at the beginning when you rotate the spindle in your chosen planning direction.
Configuring Your Planer Thicknesser Blades
Learning how to set up planer thicknesser blades can be a time-consuming and complex process, but it’s also a necessary part of leveraging your tool effectively. Many users would often make mistakes when using these tools because their planer knives and surfaces weren’t in the correct position.
If you’re struggling with your planer thicknesser blades, you might be able to find some additional guidance and instruction included with the user manual for the machine.
Rebekah is a writer who loves to explore new products and find hacks that make life easier. She has a knack for all things home improvement, health and fitness. So you’ll often find her on Pinterest or browsing Houzz for ideas.
She’s always looking for the next thing to fix up around the house or what gadget might be just right for her lifestyle. Rebekah enjoys exploring new recipes, taking care of her family, and making sure she stays healthy with regular workouts at the gym.