Last Updated on
Are you tired of your old kettle filter and want to learn how to replace it? Don’t worry, learning how to replace a kettle mesh filter is easy. In this blog post, we’ll walk you through the process step-by-step. From gathering the necessary tools, removing the old filter and cleaning out your kettle before installing the new one – everything’s covered here. We’ll even show you how to test that your newly replaced kettle mesh filter works correctly so all that’s left for you is brewing up a fresh cup of tea or coffee.
Table of Contents:
- Tools You’ll Need
- Removing the Old Filter
- Cleaning Out the Kettle
- Installing the New Filter
- Testing The Kettle
- Conclusion
Tools You’ll Need
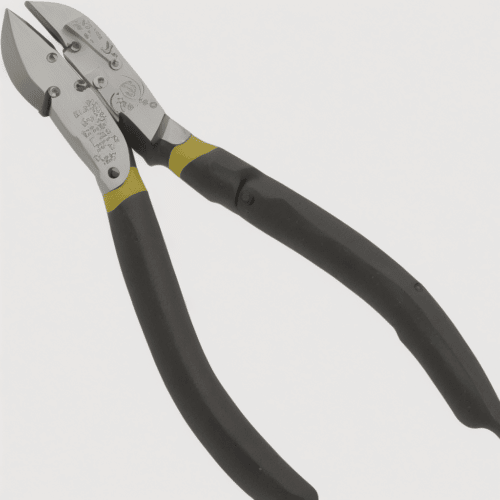
Replacing a kettle mesh filter is an easy task that anyone can do with the right tools and materials. To get started, you’ll need a pair of pliers, a new filter, and a screwdriver.
Using the pliers, carefully remove the old filter from your kettle. Be sure to be gentle as you don’t want to damage any other parts of your appliance. Once it’s out, take some time to inspect it for any signs of wear or tear before disposing of it properly.
Next up is installing the new filter into your kettle. Place the new filter in its designated spot inside your appliance and use the screwdriver to secure it in place. Make sure all screws are tight so that there won’t be any issues when using your device later on down the line.
Finally, give everything one last check over before putting back together whatever pieces you had removed earlier on in this process (e.g., lid). If everything looks good then congratulations, you have successfully replaced your kettle mesh filter.
Once you have gathered the necessary tools, it’s time to move on to removing the old filter – a process that requires patience and attention to detail.
Removing the Old Filter
Removing the old filter from your kettle is a simple process that requires minimal tools and effort.
First, you’ll need to gather the necessary tools for this job: a pair of pliers, a screwdriver, and some gloves. Put on gloves before starting to protect your hands from any sharp edges or debris.
Next, locate the screws holding the filter in place. Using your screwdriver, unscrew them until they are loose enough to be removed by hand. Once all of the screws have been taken out, carefully remove them from their slots in order to access the filter itself.
Now it’s time to take out the old filter. Use your pliers to grip one side of it and gently pull it away from its housing within your kettle. Be sure not to tug too hard as this could damage other components inside or cause harm you. Once you’ve successfully removed it, discard of it properly according to local regulations (e.g., recycling).
Finally, inspect around where you just removed the old filter for any dirt or debris that may have accumulated over time. If there is any present then use a damp cloth or sponge with a mild detergent solution (if needed) and wipe away any residue left behind before installing your new filter.
With the old filter removed, it’s time to clean out any residue that may have been left behind in the kettle – a necessary step before replacing the new filter.
Cleaning Out the Kettle
When it comes to replacing the filter in your kettle, one of the most important steps is cleaning out any debris or limescale that may have built up inside. It’s essential to do this before installing a new filter, as otherwise, it can lead to blockages and other problems down the line.
The first step is to unplug your kettle from its power source and let it cool completely before you start. Then fill the kettle with equal parts water and white vinegar, which will help dissolve any limescale deposits that are present. Let this solution sit for at least an hour before draining it out into a sink or bucket.
Once you’ve done this, use a damp cloth or sponge to wipe away any remaining residue on both the outside and inside of your kettle. Be sure not to scrub too hard as you don’t want to damage the surface of your appliance. If there are still some stubborn spots left behind, try using baking soda mixed with warm water instead – just make sure not to leave it on for too long so that you don’t scratch up your appliance either.
Finally, if necessary fill up your empty kettle once more with fresh cold tap water (no need for vinegar/baking soda anymore) and boil it several times over until all traces of debris/limescale have been removed from within. This should take no longer than 10 minutes each time depending on how much was present initially. And there you have it – now you are ready for installing that new filter.
Once you’ve successfully removed the old filter, it’s time to move on to installing the new one – a process that requires some patience and attention to detail.
Installing the New Filter
Installing a new filter into your kettle is an easy process that can be done in just a few steps.
All you need to do is slide it into place on top of its mounting bracket and secure it with either clips or screws depending on what type of mount your kettle has (make sure not to overtighten). Once secured, give everything one last check over before plugging back in and turning on.
Now that the new filter is installed, it’s time to test the kettle and make sure everything is working properly.
Testing The Kettle
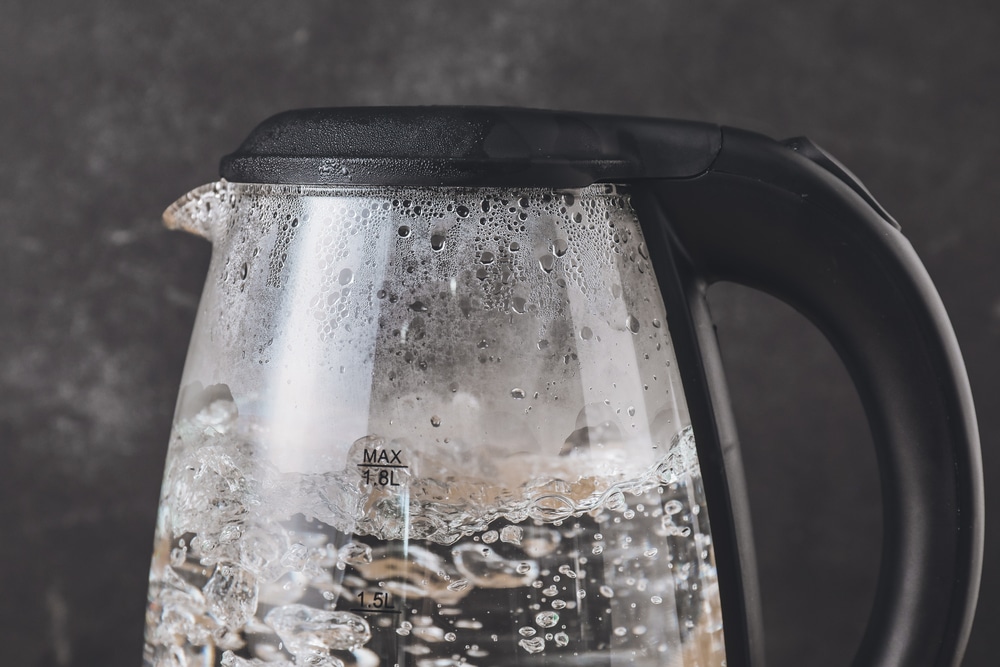
Testing your newly installed filter is the final step in making sure that you have a safe and healthy kettle. To do this, fill up the kettle with cold water and place it on the stovetop or hot plate. Turn on the heat source to its highest setting and wait for it to boil. Once boiling has been achieved, turn off the heat source and let the kettle cool down before pouring out any of its contents.
Repeat this process twice to ensure that your new filter’s components are working properly. After each boil, check for any leaks around where you’ve connected your new filter as well as inspect the inside of your kettle for any signs of damage or wear-and-tear from overuse or improper installation. If everything looks good after three boils then congratulations, you now have a fully functioning filtered kettle ready to make delicious beverages.
Conclusion
With the right tools and some patience, you can easily replace your old filter with a new one in no time. Make sure to clean out the kettle before installing the new filter for optimal performance and taste. Now that you know how to replace a kettle mesh filter, enjoy your freshly brewed cup of tea or coffee.
Paul is the type of person who never met a problem he couldn’t fix. He can always be found tinkering with something in his house, even if it isn’t broken! His tips and tricks are often shared on our site. He’s the one you call when something breaks because he has been known to improvise fixes for everything from leaky faucets to malfunctioning dryers.