Last Updated on
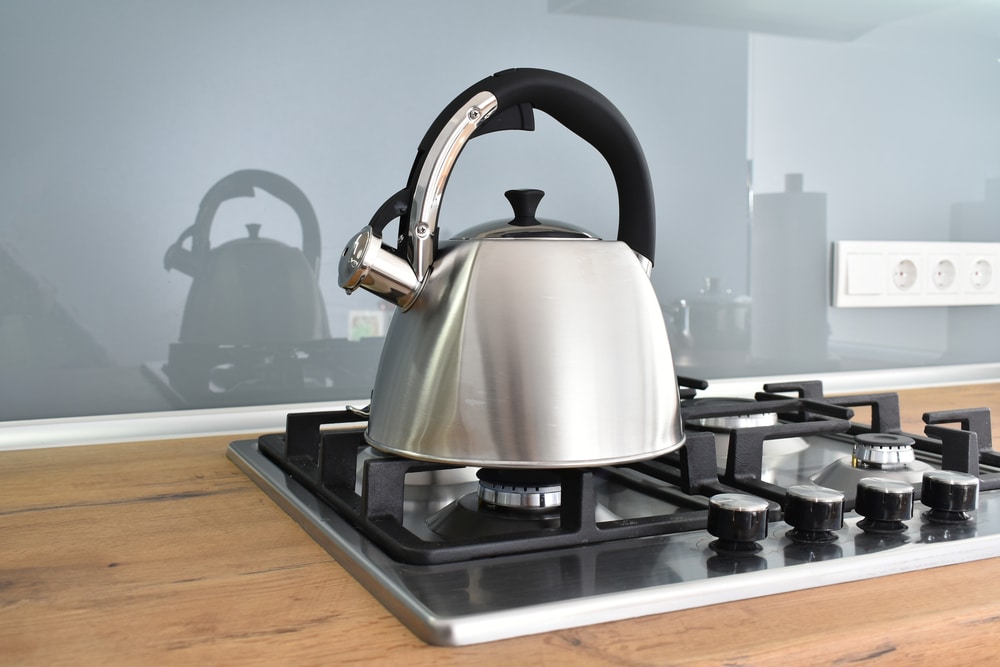
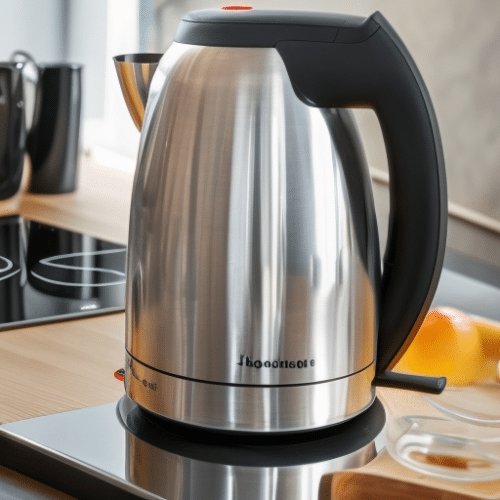
Have you ever heard a loud hissing sound coming from your kitchen? It’s not the cat, it’s your kettle. Kettles can be temperamental and often require repair. In this blog post, we’ll look at how to repair a kettle with some helpful troubleshooting tips so that you don’t have to replace yours anytime soon. Whether it’s cleaning or replacing parts, there are plenty of ways to fix your faulty appliance without having to call in professional help – saving time and money in the process. So if you’re struggling with how to repair a kettle then read on for our top advice and tips.
Table of Contents:
- Identifying the Problem
- Troubleshooting Tips
- Cleaning and Maintenance
- Replacing Parts
- Professional Repair Services
- FAQs in Relation to How to Repair a Kettle
- Conclusion
Identifying the Problem
When it comes to identifying problems with your kettle, the first step is to observe. Is the kettle plugged in and switched on? If so, does the light come on when you press the switch? If not, then there could be a problem with either the power supply or switch.
If your kettle is plugged in and switched on but won’t heat up, then this could indicate an issue with its heating element. To check if this is indeed what’s causing your problem, take off the lid of your kettle and look inside for any signs of damage or corrosion. You may also want to try unplugging it from its power source for a few minutes before plugging it back in again as this can sometimes reset faulty electrical components.
If you notice that water is leaking out of your kettle while it’s being used, then this could be caused by a worn-out seal around its spout or lid area. In some cases, simply replacing these seals can fix the issue; however if they are particularly old or damaged beyond repair then you may need to replace them entirely.
Once you’ve identified the issue with your kettle, it’s time to move on to troubleshooting tips and figure out how to fix it.
Troubleshooting Tips
When it comes to troubleshooting a kettle, the first step is always to check the power cord. Make sure that it’s properly plugged in and connected to an appropriate outlet. If there are any signs of damage or wear and tear on the cord, you may need to replace it with a new one.
Next, make sure that your kettle lid is properly closed before turning it on. This will ensure that all of the heat stays inside and helps prevent boiling over or spilling out when you pour from the spout. Additionally, if your lid isn’t completely sealed shut, steam can escape which could cause water levels to drop too low during use and result in burning out your heating element prematurely.
If these two steps don’t solve your problem then you may want to take a look at some other potential causes such as checking for mineral deposits around the heating element or inspecting for any blockages in either the spout or filter area. Mineral deposits can build up over time due to hard water usage so they should be removed periodically with vinegar and hot water solution (1 part vinegar: 4 parts hot water). Blockages can occur due to food particles getting stuck in either area, so using a pipe cleaner should help clear them out quickly and easily without damaging anything else inside your kettle.
If you’ve exhausted all of your troubleshooting tips and still can’t seem to get your kettle back in working order, it may be time to focus on cleaning and maintenance. With a few simple steps, you’ll be able to ensure that your kettle is running as smoothly as possible.
Cleaning and Maintenance
Cleaning and maintaining a kettle is essential for keeping it in good working order. To keep your kettle running smoothly, descale it regularly to prevent limescale buildup. Descaling can be done by adding equal parts white vinegar and water to the kettle, bringing it to a boil, and then letting it sit overnight before rinsing it with clean water. This should be done at least once every two months or more often if you live in an area with hard water.
It’s also important to check all seals on your kettle from time to time for signs of wear or tear which could lead to leaks when boiling liquids inside the unit. If any seal appears damaged replace them immediately as this will help ensure the safe operation of your appliance over time. Additionally, make sure all vents are clear from debris such as dust which can accumulate over time and cause blockages within the unit itself leading to potential safety issues when operating at high temperatures or pressures while boiling liquids inside its chamber(s).
Finally, inspect all cords periodically for fraying wires or exposed insulation which could create fire hazards if left unchecked; replace these components immediately upon discovery of any issues found during inspection periods. Doing these simple maintenance tasks regularly will help extend the life span of your home appliances and ensure optimal performance throughout its lifetime.
Cleaning and maintaining your kettle regularly is essential to ensure it runs efficiently, so take the time to keep it in top condition. Now let’s move on to replacing any parts that may need replacing for optimal performance.
Replacing Parts
Replacing parts of a kettle can be tricky, but it doesn’t have to be. With the right tools and knowledge, you can easily replace any part of your kettle with ease.
The first step is to identify which part needs replacing. Commonly replaced parts include the heating element or thermostat. You’ll need to check your user manual for instructions on how to remove and replace these components.
Once you’ve identified the component that needs replacing, it’s time to source a replacement part. If you’re looking for an original manufacturer-made replacement part, then your best bet is usually going directly through them or an authorized dealer/distributor in the UK if possible. However, there are also third-party suppliers who may offer compatible replacements at lower prices than what manufacturers charge – just make sure they meet safety standards before purchasing.
Next up is actually replacing the part itself – this will depend on what type of component it is and how easy it is to access (for example, some kettles have their elements located behind panels). In most cases though, you’ll need basic tools such as screwdrivers and pliers; however, more complex repairs may require specialised equipment like soldering irons or multimeters depending on what repair job needs to be done.
When installing new components into your kettle always take extra care not to damage any other internal components while doing so – even minor mistakes could lead to serious problems down the line. Additionally, double check that all connections are secure before powering up again – otherwise there’s a risk of electric shock or fire hazard due to loose wires/connections etc.
Finally, once everything has been installed correctly, don’t forget to test out whether everything works properly. This way you can ensure that no further issues arise from improper installation.
Replacing parts is a great way to get your kettle working again, but if you find the process too difficult or time-consuming, there are always professional repair services available to help. Let’s explore these options in the next section.
Professional Repair Services
When it comes to home and garden products, sometimes the repairs can be too complex for a DIY approach. It’s important to know when you should call in a professional repair service instead of attempting the job yourself.
If your product is still under warranty, it’s best to contact the manufacturer first before seeking out an independent repair service. Many manufacturers offer free or discounted services if your product has been damaged due to normal wear and tear. If that isn’t an option, then you’ll need to find a reliable repair shop in your area.
FAQs in Relation to How to Repair a Kettle
What are the common problems of electric kettle?
Electric kettles can be prone to a variety of issues, from limescale build-up and mineral deposits that reduce efficiency, to faulty elements or switches. Common problems include: inadequate heating due to scale build-up; failure of the on/off switch; leaking seals or connections; noisy operation; and discoloration of the kettle body. Regular descaling with vinegar or other products is recommended in order to maintain optimal performance. Additionally, it’s important to check for any loose connections or signs of wear and tear before use.
Why has my kettle stopped boiling?
The cause of your kettle not boiling could be due to a variety of reasons. It may be something as simple as the element being blocked or damaged, or it could be an issue with the thermostat. If you have recently filled your kettle with cold water, then this can also prevent it from boiling properly. Additionally, if there is a build-up of limescale inside the kettle then this will reduce its efficiency and stop it from reaching its maximum temperature. To ensure that your kettle is working correctly, make sure to regularly descale and clean it using vinegar or citric acid solutions.
How do you fix a boiling kettle?
To fix a boiling kettle, start by unplugging it from the power source. Next, carefully open the lid and pour out any remaining water. Inspect the heating element for any visible damage or corrosion. If there is none, check to see if it’s clogged with limescale buildup; use a brush or vinegar solution to clean it off. Finally, reassemble your kettle and plug it back in – you should now be able to enjoy freshly boiled water without issue.
Conclusion
We hope this guide on how to repair a kettle and get it back up and running. If the troubleshooting tips didn’t help, or if you’re not comfortable with any of the steps involved in repairing a kettle yourself, don’t hesitate to call a professional for assistance. It’s always better to be safe than sorry when it comes to electrical appliances like kettles. With proper cleaning and maintenance, your repaired kettle should last for years – so go ahead and enjoy that cup of tea now.
Paul is the type of person who never met a problem he couldn’t fix. He can always be found tinkering with something in his house, even if it isn’t broken! His tips and tricks are often shared on our site. He’s the one you call when something breaks because he has been known to improvise fixes for everything from leaky faucets to malfunctioning dryers.