Last Updated on
If you’re looking to give your fence a fresh coat of paint, you may be wondering how to do it the right way. It may not be as difficult as you might think!
In this how-to guide, we will discuss some tips and tricks on how to paint a fence without it going through the other side. So please read on, and let’s get the job done right!
How to Paint a Fence Without It Going Through the Other Side
Below is a step-by-step guide on preventing seepage when painting a fence.
Step 1: Choose the Right Fence Paint
You need to use wood paint designed specifically for fences when painting a fence. For example, use acrylic paint if you want something more durable. However, you may need to coat your fence with primer before applying acrylic fence paint.
You also have the option to use oil-based paints. Although this kind of paint produces a great finish, it could require multiple applications.
Step 2: Prepare the Right Tools
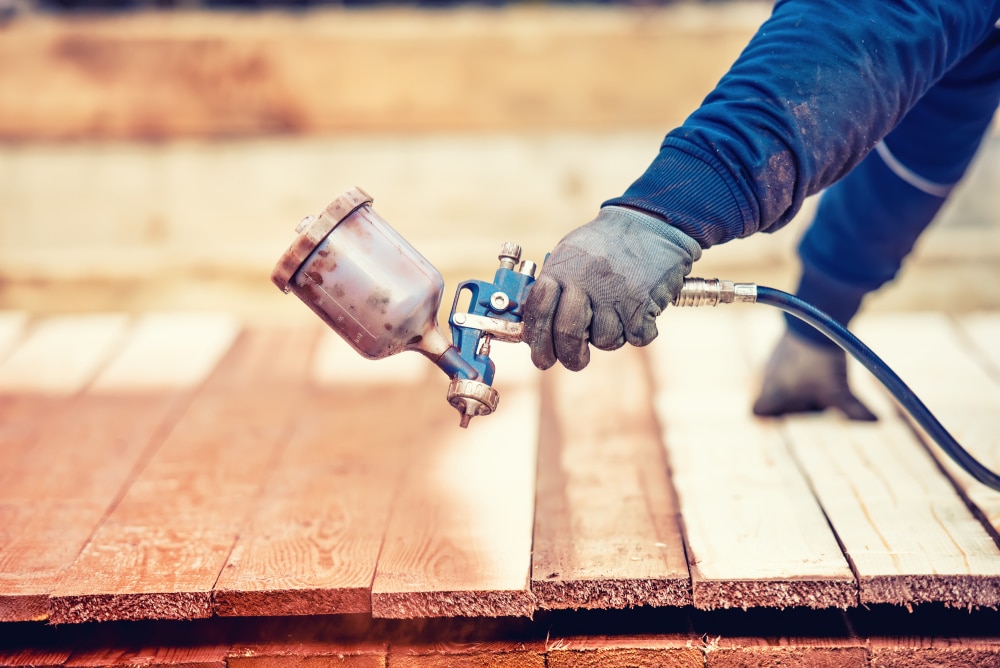
You can use a paint sprayer, a paintbrush, a roller, or a combination of these three tools. When painting a long wooden fence with numerous crevices, you need a sprayer. But keep in mind that a power sprayer is not the best tool for the job when it’s windy.
A roller is more suitable for flat, short fences. However, if your wooden fence has detailed sections and tight spaces, it is best to have a brush handy.
Step 3: Schedule Your Painting Project
Make sure to schedule a painting project during the right time of the year.
Avoid rain, wind, or other weather conditions that can affect your paint job. If you live in an area with extreme heat and humidity, then spring or early is likely the best season for painting your fence.
Also, it is better to fence your paint in the morning when it is not very hot. This ensures your paint won’t dry up too quickly.
Step 4: Cover Your Plants With Plastic Sheeting
Cover your plants and any other items in the area with a plastic sheet not to get covered by paint. Trim or tie back plants so you’ll have more room to work on your fence. If you have garden furniture, protect them as well.
Step 5: Prepare Your Fence
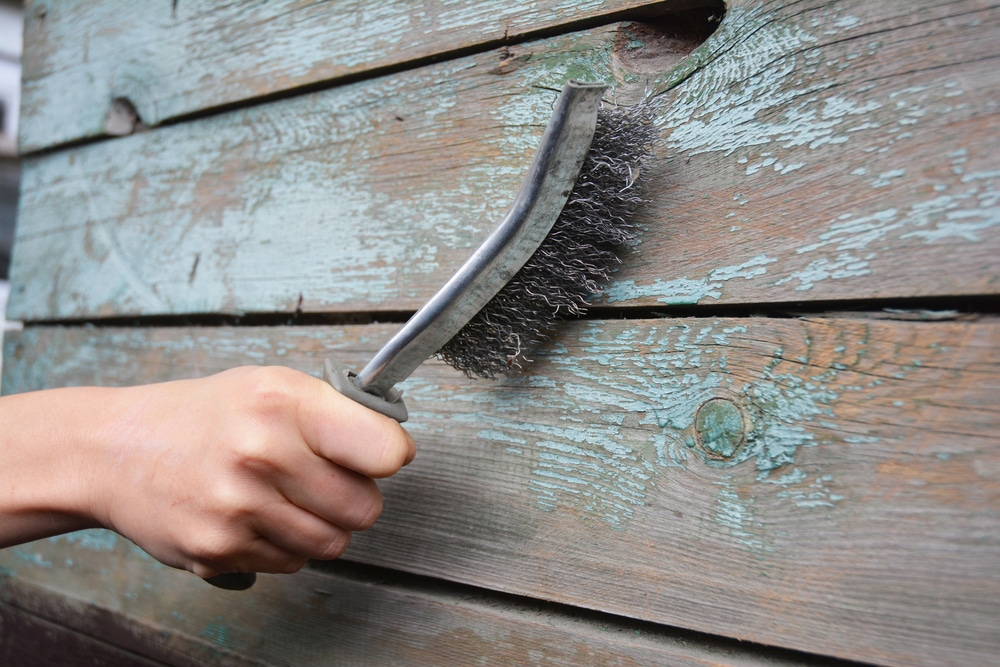
If you’re not using a new fence, it is essential to clean your fence before painting it.
Get rid of any dust, debris, or mildew using a stiff brush. If you have any loose paint, use a wire brush to scrape it off before painting.
If you see any bird droppings, wash them off by pouring warm soapy water straight on the area and then scrub them off. Allow your fence to dry for about 48 hours before painting it.
Fill any cracks or gaps in the wood with caulk. Please make sure you get appropriate for outdoor use so it won’t crack when exposed to sunlight and rain.
Ensure to inspect the panels to check for any nails and screws; remove them. Smoothen any rough areas or splinters sticking out with sandpaper.
Step 6: Apply Primer on All Fence Panels
Now that we’ve taught you how to prepare a fence for painting, it is time to learn about primer application.
If you are using a type of paint that needs primer, apply the primer to all the wood panels. The paint adheres better and last longer. It is best to pick a primer that can be applied using a paint sprayer.
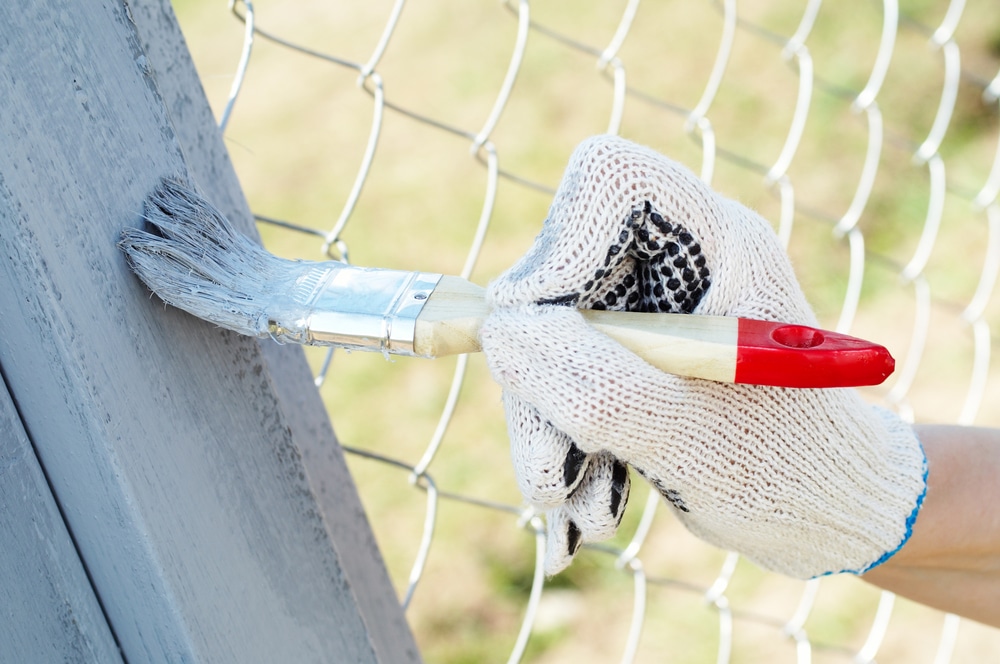
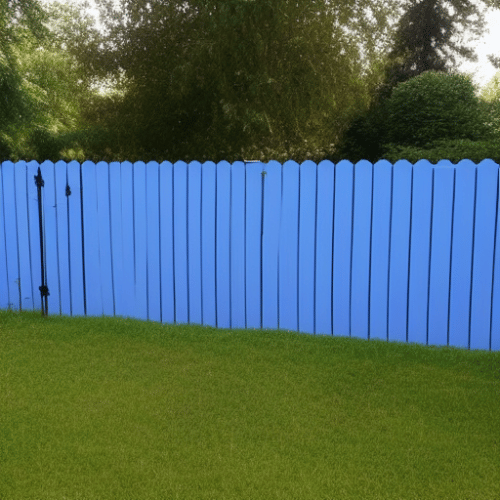
Step 7: Paint Your Fence in Your Selected Colour
Start painting the top of the garden fence, and then work your way down. Follow the wood grain with even strokes, catching any paint drips.
Remember to paint horizontal strokes for horizontal panels and a vertical direction for vertical panes. Let each paint coat dry completely before applying the next one.
Be sure to avoid painting too thickly, as this will increase the chances of seepage through the side of the fence.
Step 8: Let it Dry
Allow the paint to dry completely before applying a second coat. Applying the next coat before the first one is fully dry may cause the paint to peel and chip off.
Step 9: Apply Sealer on All the Panels
After the second coating has dried, use a clear sealer to seal in all of your hard work. The sealer will help protect against moisture and UV rays while also preventing paint from seeping through any cracks that may be present on your fence.
Now you can sit back and enjoy the results of all of your hard work!
Essential Fence Painting Tips for Beginners
If you’re looking to take your fence painting skills to the next level, be sure to check out our pro tips below:
- If you’re using spray paint, be sure that the nozzle size is correct for the job at hand. Using too large of an opening will cause more overspray, leading to seepage.
- Always check the weather forecast before painting. You don’t want to paint with the slightest possibility of rain because it will ruin your hard work.
- It is best to paint when the skies are overcast. Applying the paint to direct sunlight will cause the paint to dry too quickly. Always try to apply the paint in a shaded area if possible, or wait until later in the day when the sun’s heat isn’t as intense.
- Repair your old fence first if it needs it before painting. You should check for any loose boards, nails or screws that may be on the fence and take care of those first.
- Be sure that when you’re applying each coat (including primer), there are no gaps between coats where water could get through and ruin everything.
- An incorrect nozzle size for your sprayer will impact the quality of your output. A too-large opening will cause more overspray, which could lead to seepage as well!
- Use plastic sheeting or cardboard to protect your lawn from drips.
- Anywhere where there are awkward gaps and small cracks in the fence boards, it is good to use caulk to seal them off before applying primer. This will help prevent seepage and ensure that all areas are covered properly with paint.
- Clean your brushes and tools after painting your fence. Water-based paints can be cleaned up with soap and water, while oil-based ones may require white spirit or turpentine.
- When painting a large fence, breaking the project down into smaller sections is essential. This will make the job easier and more manageable and also help with paint distribution.
By following these tips, you’ll be able to have a freshly painted fence that doesn’t seep through and looks great!
Safety Tips to Consider When Painting Wood Fences
Here are safety tips to remember when painting wood fence panels.
Wear Protective Clothing
If you use a paint sprayer, always wear a respirator mask to avoid breathing in any fumes and paint toxins.
Wear goggles and appropriate gloves when painting your fence in case of eye splashes. Furthermore, use impermeable gloves when handling paints and solvents and tougher work gloves for sanding fence panels.
The sanding process will cause a lot of dust particles to fly through the air; always put on a dust mask when preparing your garden fence.
Use suitable footwear when painting, primarily if you use a ladder. Also, wear your old clothes or a disposable suit when painting to avoid any damage.
Never Leave a Paint Can Unattended
Never leave a paint can open for an extended period of time, as the fumes can be dangerous. Once you’re finished with your painting project, properly dispose of all cans and brushes.
Also, remember that oil-based paints are deemed flammable, so always keep them away from any sources of heat or flame.
Always Keep Children and Pets Away
Keep your kids and pets away from freshly-painted fences. Maintain a watchful eye as
If possible, it’s best not even to allow kids and pets into areas where there are exposed paints and solvents at all times, as the fumes can be toxic to them. Also, make sure all lids are closed so they don’t accidentally spill anything on themselves.
Watch Out for Allergies
Paint can cause skin irritation and allergies. Wash off paint splashes from your skin with soapy water immediately, and seek medical attention if your skin starts to feel itchy or irritable.
Ladder Safety
Ensure your ladder is on solid ground and stable before climbing up. Do not lean the ladder against the fence, as this may cause damage or lead to an accident if the wood breaks away from your weight!
Do not leave your ladder unattended, especially if children are around, because they may try and climb it, resulting in injury.
Safety is always important when working on any project! Follow these tips to avoid any potential health hazards while painting your fence!
Frequently Asked Questions
How to Stop Paint Dripping Through a Fence Panel?
Using a primer, you can stop paint from dripping through a fence panel. This will seal any gaps between the boards and ensure that your stained finish looks even across all surfaces.
What’s the Best Way to Paint Fence Panels?
It is best to use a roller and a paintbrush when painting wooden fence panels. However, if you want to cover large areas quickly, use a paint sprayer.
Can I Paint Both Sides of My Fence?
Yes, you can paint both sides of your fence, but it is vital to use the correct type of paint and primer.
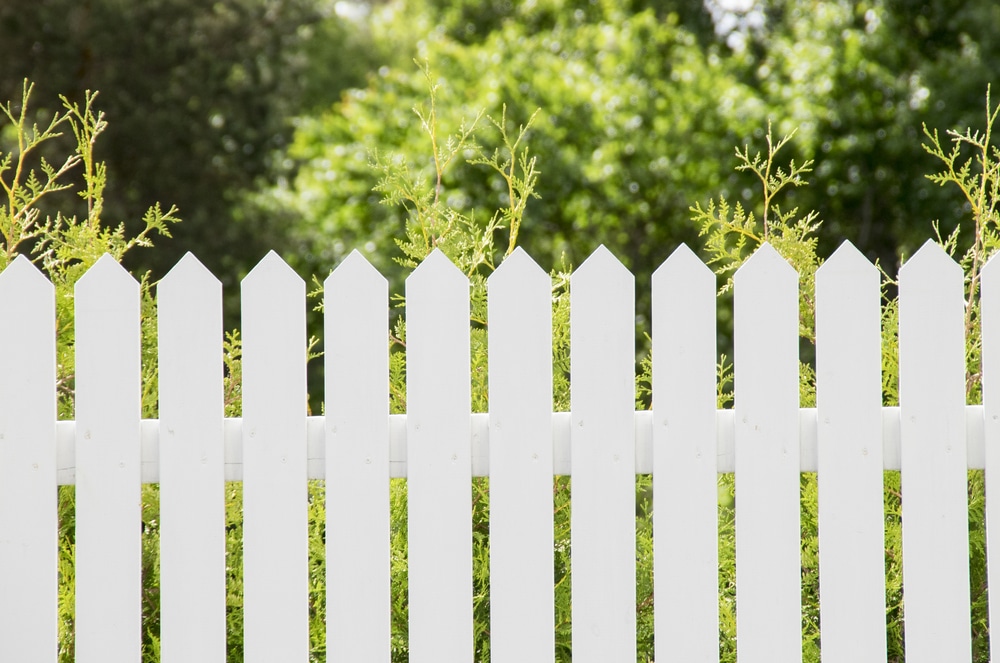
Painting Fences the Right Way
Repainting your fence every few years can help to keep it looking fresh and new. However, make sure you know how to paint without going through the other side to avoid any problems and messes later on.
Did you find our tips helpful? If so, please share this post with your friends and family! And be sure to check back our blog for more helpful home improvement tips.
Paul is the type of person who never met a problem he couldn’t fix. He can always be found tinkering with something in his house, even if it isn’t broken! His tips and tricks are often shared on our site. He’s the one you call when something breaks because he has been known to improvise fixes for everything from leaky faucets to malfunctioning dryers.