Last Updated on
Want to learn how to make distilled water with a kettle? With the correct materials and instructions, you can make your own distilled water in no time. It’s an economical way to get access to high-quality H2O without breaking the bank – all while being eco-friendly too. So if you’re curious about how this seemingly daunting task is achievable using only a kettle, read on for our guide on making distilled water with a kettle.
Table of Contents:
- What is Distilled Water?
- Gathering the Materials
- Preparing the Kettle
- Distilling the Water
- Storing Distilled Water
- Conclusion
What is Distilled Water?
Distilled water is a type of purified water that has been heated and condensed to remove impurities. It’s an important process for ensuring the safety of drinking water, as it removes any harmful bacteria or chemicals from the source. Distilling also helps to reduce unpleasant tastes and odours in tap water, making it more palatable.
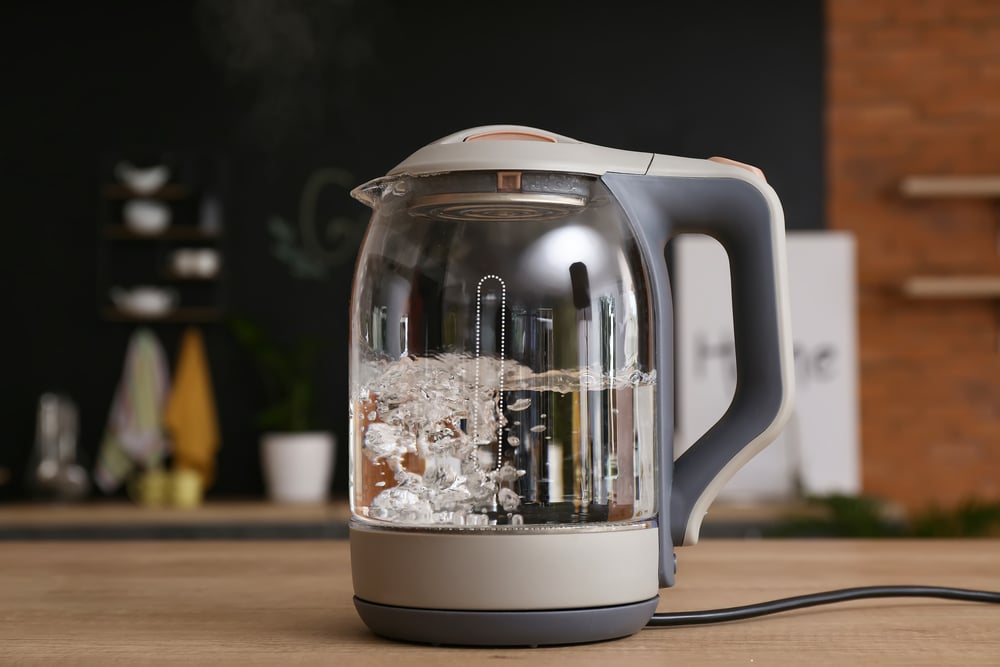
Making distilled water at home is relatively easy with a kettle. Kettles are equipped with heating elements that can bring the temperature of the liquid inside up to boiling point quickly and efficiently. This makes them ideal for distillation purposes, as they can be used to heat up large amounts of liquid without taking too long or using too much energy.
Gathering the Materials
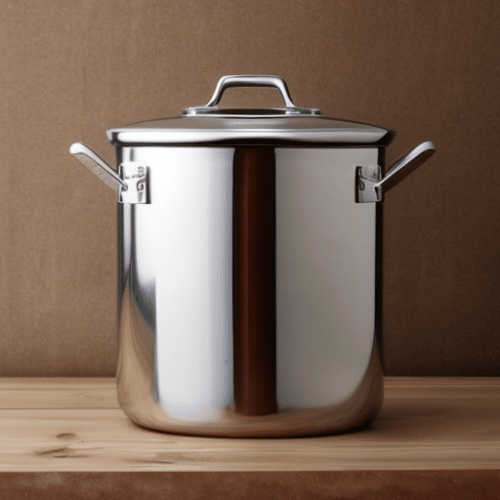
Gathering the materials for making distilled water with a kettle is easy and straightforward. You’ll need a large pot, preferably one that’s made of stainless steel or glass. It should be big enough to fit your kettle inside it. Additionally, you’ll need a clean cloth to cover the top of the pot and keep steam from escaping. Finally, you’ll want to have a thermometer on hand so that you can monitor the temperature of the boiling water in order to ensure it reaches its peak distillation point.
Once you have the necessary materials, it’s time to start preparing your kettle for distilling water – let’s get started.
Preparing the Kettle
Preparing the Kettle is an important step in distilling water. To ensure that you get the purest and cleanest distilled water, it’s essential to properly prepare your kettle before beginning the process.
The first thing you should do is give your kettle a thorough cleaning. Use a mild detergent or vinegar solution to remove any dirt or residue from the inside of the kettle. Make sure that all surfaces are wiped down and rinsed off completely with warm water afterwards.
Once your kettle has been cleaned, fill it up with tap water until it reaches about three-quarters full. It’s important not to overfill as this can cause boiling over during distillation which will make for a messy situation. If possible, use filtered tap water as this will help reduce any impurities present in the final product. Also, be sure to check if there are any mineral deposits on the heating element of your kettle; these need to be removed prior to distillation so they don’t end up in your distilled water.
Finally, attach the lid securely to your filled kettle and place it on top of its heating element base or stovetop burner (depending on what type of device you have). Make sure that all connections are secure before turning on the heat source – otherwise, steam may escape causing burns or other injuries.
After preparing the kettle, it’s time to start distilling the water – a process that requires careful attention and patience to get right.
Distilling the Water
Distilling water is a process of purifying it by removing impurities. The basic principle behind distillation is that different substances have different boiling points, and when heated to their respective boiling points, they will evaporate at different rates. Water has a lower boiling point than most other substances, so when heated to its boiling point (100°C or 212°F), it will vaporise before the other substances in the mixture do.
When collecting distilled water, make sure you use clean containers that are free from any contaminants like dust particles or dirt which could be transferred into your distilled product during storage if not properly cleaned beforehand. It’s also important to keep your containers sealed tightly once filled with distilled water since even small amounts of oxygen can cause bacteria growth if left exposed for too long; try using airtight bottles or jars with lids.
The first step in distilling your own water is to fill up a pot or kettle with tap or spring water. Make sure the pot has enough room for all of the liquid to boil without overflowing. Place it on an open flame stovetop burner and turn up the heat until it begins to boil. The boiling point of water is 212°F (100°C). Once boiling, let it continue for about 15 minutes so that any impurities can be boiled off along with steam vaporising from the surface of the liquid.
Using a metal spoon or ladle, scoop out some of the hot steam vapour from above your original pot of boiling liquid and pour it into the second container. As this vapour cools down after being exposed to air outside its heated environment, condensed droplets will form inside the walls of the second container – these droplets are what we call “distilled” drinking-quality H2O.
Once you have distilled the water, it’s time to move on to storing it in a safe and secure manner. By following the steps outlined in this guide, you can ensure that your distilled water is kept clean and ready for use whenever you need it.
Storing Distilled Water
Storing distilled water correctly is essential for preserving its purity and quality. When stored properly, distilled water can last up to six months without losing any of its properties. To ensure that your distilled water stays as pure as possible, here are some tips on how to store it:
Use an airtight container or glass bottle:
Storing your distilled water in a sealed container will help keep out contaminants like dust and dirt particles from entering the liquid. Make sure the lid is tightly closed when not in use to prevent evaporation and contamination from outside sources.
Keep away from direct sunlight:
Sunlight can cause minerals present in the air to settle into the liquid, making it less pure over time. It’s best to store your containers of distilled water away from windows or other areas where they may be exposed to direct sunlight for long periods of time.
Label each container with the date purchased/opened:
Labelling each container with either date purchased or opened will allow you to know exactly when you need to replace it so that you always have fresh, uncontaminated drinking water available whenever needed.
If possible, try stocking up on several containers at once instead of buying just one. This way, you won’t run out unexpectedly. Additionally, having multiple bottles ensures that even if one gets contaminated by accident, there is still plenty more left.
Conclusion
Learning how to make distilled water with a kettle is an easy and cost-effective way to ensure you have access to clean, pure drinking water. With the right materials and preparation, you can create your own distilled water in no time. It’s important to remember that once it has been made, it should be stored properly so that its purity remains intact. By following these simple steps, you can make sure that your family always has access to safe and healthy drinking water – all thanks to the power of a humble kettle.
Paul is the type of person who never met a problem he couldn’t fix. He can always be found tinkering with something in his house, even if it isn’t broken! His tips and tricks are often shared on our site. He’s the one you call when something breaks because he has been known to improvise fixes for everything from leaky faucets to malfunctioning dryers.