Last Updated on
Installing a water softener might appear to be a difficult task. Depending on the water softener you choose, you may need a decent knowledge of various plumbing and electrical concepts to get started.
While a water softener can deliver many benefits, from tastier drinking water to better-preserved plumbing and pipes, they are large, complex appliances. Some of them are designed to be easy to install for homeowners, but you’ll still need to know your way around your water supply system and have some DIY skills.
In this guide, we’ll show you how to install a water softener in a few steps. However, before you go ahead, ask yourself if you have the technical know-how. If not, you might save time and money by hiring a professional, as accidents can permanently damage your floor and pipes.
Water Softener Installation: Finding the Right Location
If you’ve assessed your plumbing and DIY skills and believe you can confidently install your own water softener, the first step is figuring out where to place your new system. Ideally, you should always install a water softener on level ground, close to a nearby electrical plug, so you can connect your power cord.
Before you begin fitting a water softener, assess which space is best suited to your project. You’ll need a sink or drain line nearby to get rid of wastewater. You’ll also need your unit to be located either within the water-softening plumbing loop or somewhere between your water heater and water supply line.
The good news is most homes will need a relatively small amount of space for a typical system. As long as you have access to a drain, piping, plumbing, and power, you’re free to choose any location you like. Keep in mind that you should keep water softeners out of direct sunlight so they don’t overheat, but they shouldn’t be allowed to get too cold, either.
Fitting a Water Softener: A Step-By-Step Guide
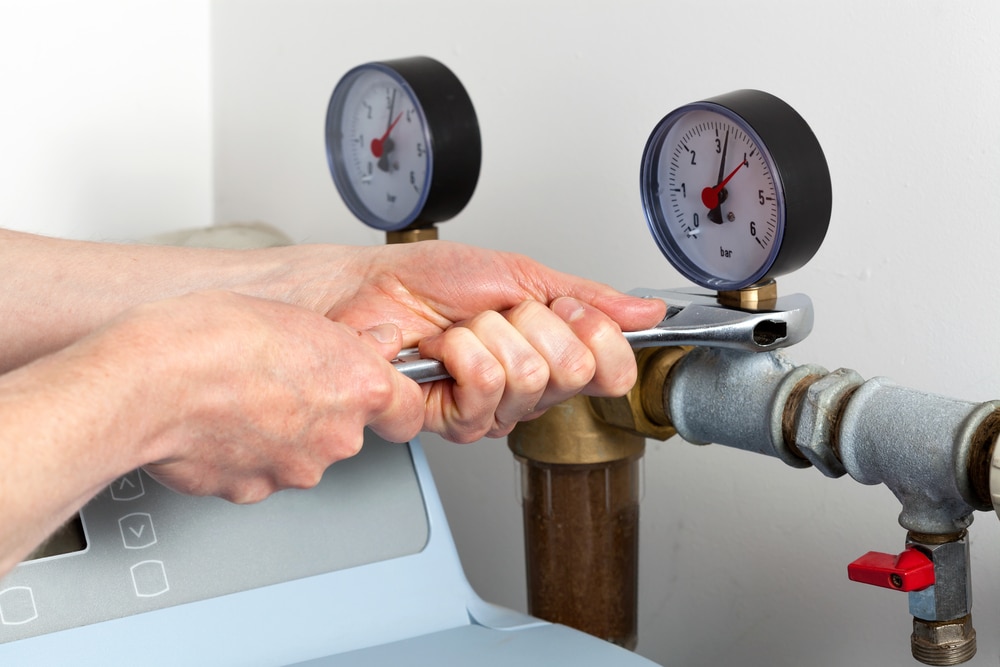
Once you’ve found the right location for your water softener, the next step is getting prepared. Ensure you have all the equipment you need to install your water softener, including any spanners, screwdrivers, or tools recommended by your water softeners’ manual.
Once you have everything prepared, follow these steps.
Step 1: Turn Off Your Water Supply
Unpackage the water softener system, and turn off your water supply, so you don’t end up with any flooding. Before you get started, you may need to empty any residual water from the water supply system, brine tank, drain line, and water heater. Turn on nearby taps and water outlet ports to get rid of any buildup before you start installing. It’s also particularly important to turn off an electric water heater to ensure you don’t get shocked.
Once your water is switched off and drained, add the bypass valve. This is a piece of equipment included in your water softener kit. The bypass valve allows you to direct water away from the softener if you need to repair it. Install the bypass valve by pushing it into the inlet and outlet ports on the softener valve, then attach the two clips.
Step 2: Position Your Water Softener
Next, measure, cut and assemble the appropriate pipe fittings to link your main water pipe to the inlet and outlet ports of your bypass valve. You may need to use push-to-connect or flex fittings. These products may be included with your water softener, or you may need to buy them separately.
Most water softeners use 1″ male threads, so any fittings you purchase will need to fit this standard. Double-check your instructions if you’re not sure which connectors you need.
Step 3: Install Your Hoses
Once your water softener is properly positioned, you’ll need to measure, cut, and install a drain line hose and a brine tank hose. This hose will discharge anything your water softener produces during the “regeneration process” from the brine tank. You may also need to install your brine tank’s overflow hose to reduce the risk of issues.
You should place the drain hose in a floor drain, tub, sump, or standpipe to allow for the elimination of excess water. Most products will come with hose clamps to help you secure your connection from your softener value to your drain system.
Step 4: Check for Leaks
Before enjoying your softened water, it’s important to ensure your system isn’t leaking. Turn on the cold water tap for the sink closest to the water softener unit. You shouldn’t need to use hot water at this time. While the water is running, push your bypass valve inward to the bypass position, then slowly turn on the main water valve until there’s a steady flow.
Pull the bypass valve out again to allow the water to flow into the unit. After about 3 minutes, you can follow the same process with your hot water tap.
Check around the clips and fittings for any leaks before you turn on any electricals. Your softener should work if you have the proper connections in place.
Installing a Water Softener Yourself
Learning how to install a water softener can seem complicated, but it can be a great way to reduce water discharge and sediment buildup throughout your home. You might even find your water softener saves you more time and money than trying DIY water softening strategies or a water filter. Follow the manufacturer’s specifications for your products carefully, and consider using a professional if you’re unsure.
Rebekah is a writer who loves to explore new products and find hacks that make life easier. She has a knack for all things home improvement, health and fitness. So you’ll often find her on Pinterest or browsing Houzz for ideas.
She’s always looking for the next thing to fix up around the house or what gadget might be just right for her lifestyle. Rebekah enjoys exploring new recipes, taking care of her family, and making sure she stays healthy with regular workouts at the gym.