Last Updated on
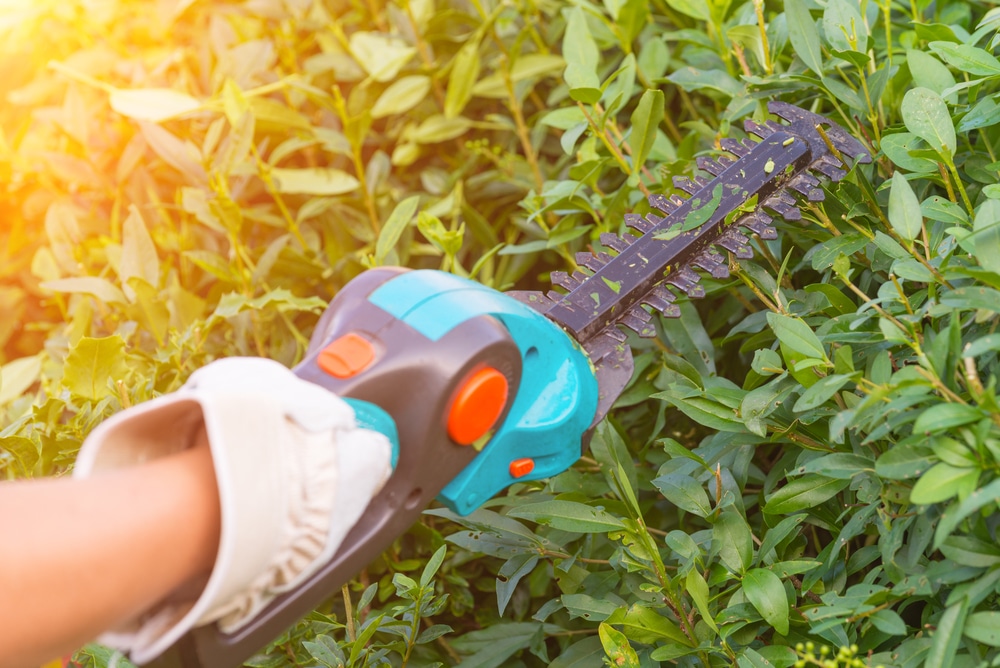
Maintaining a neat and tidy garden is no small feat, but with the right tools, it can be much easier. One of those must-have items for any outdoor space is a hedge trimmer. However, even the best ones have their off days; they jam up from time to time. But don’t despair – we’ve got you covered! In this blog post, we’ll provide a step-by-step guide on how to fix a jammed hedge trimmer so that your gardening woes are behind you in no time. We also include preventative measures so that these issues don’t arise again in future. So let’s get started fixing our jammed hedge trimmers together!
Table of Contents:
- How to Fix a Jammed Hedge Trimmer?
- Safety First
- Tools of the Trade
- Preventative Measures
- FAQ in Relation to How to Fix a Jammed Hedge Trimmer
- Conclusion
How to Fix a Jammed Hedge Trimmer?
Jammed hedge trimmers are a common problem for gardeners. When the blades of a hedge trimmer become stuck, it can be difficult to get them moving again. This can cause serious damage to the tool and even injury if you’re not careful. It’s important to take steps to fix jammed hedge trimmers quickly and safely in order to prevent further damage or harm.
Before you start attempting to fix a jammed hedge trimmer, it is important to ensure that you take all necessary safety precautions. In the next section, we will discuss how to do this properly.
Safety First
Wear Protective Gear
When attempting to fix a jammed hedge trimmer, it is important to wear protective gear such as gloves, goggles and long-sleeved clothing. Gloves will protect your hands from the sharp blades of the trimmer while also providing you with a better grip on the tool. Goggles are necessary to protect your eyes from any debris that may fly out during operation or repair. Long-sleeved clothing can help prevent cuts and scrapes if you accidentally come into contact with the blade while working on it.
Use Proper Tools
Using proper tools when repairing a jammed hedge trimmer is essential for ensuring safe operation once complete. It is important to ensure that all screws and bolts are tightened securely so they do not come loose during use, as this could cause further damage or injury if not properly secured beforehand. Additionally, it is necessary to make sure that all parts fit together correctly before reassembling them in order to guarantee that everything works as intended when finished fixing it up.
It’s important to make sure you are wearing the proper safety gear before attempting any repairs on your hedge trimmer. Now that we’ve discussed safety, let’s move on to the tools needed for this job.
Tools of the Trade
Disassembly Process
Once you have all of the necessary parts gathered together, it’s time to begin disassembling the hedge trimmer. Start by unplugging it from its power source and then removing any bolts that hold its housing together with an adjustable wrench or pliers. Once these bolts are removed, carefully lift off the top portion of the housing and set it aside for later use when reassembling everything back together again after repairs are complete. Be sure not to lose any small pieces such as nuts or washers during this process.
Cleaning and Lubrication
Now that you have access to all of the internal components of your hedge trimmer, it’s time for some cleaning and lubrication maintenance work. Use a soft cloth dampened with warm soapy water (or rubbing alcohol) to wipe away any dirt buildup inside of the housing unit as well as around each individual part such as blades and gears, if applicable. After wiping down all components thoroughly dry them off before applying a light coat of oil onto moving parts like gears and bearings using either WD-40 spray lubricant or 3-in-1 oil depending on what type is recommended by manufacturer instructions found in the user manual(s).
Having the right tools for the job is essential to fixing a jammed hedge trimmer. Now, let’s look at the preventive measures you need to note.
Preventative Measures
It’s easy to get caught up in the excitement of trimming your hedges and forget about the importance of preventative measures. Taking a few simple steps can help you avoid costly repairs and keep your hedge trimmer running smoothly for years to come.
Cleaning: After each use, be sure to clean off any dirt, debris, or plant material from both sides of the blade using a soft cloth dampened with water (or mild soap). This will not only make it easier to see any potential problems but also extend its lifespan by preventing rusting or corrosion from occurring on metal parts over time.
Sharpening Blades: Keeping your blades sharp is another important step in maintaining your hedge trimmer’s performance levels; dull blades can cause uneven cuts which lead to jams more easily than sharper ones do. To sharpen them yourself at home, you’ll need a file specifically designed for this purpose – these are usually available at hardware stores – along with some protective gloves so you don’t accidentally cut yourself while filing away at the blade edges.
Storage Tips: It’s best practice to store your hedge trimmer somewhere dry where there isn’t too much humidity present; moisture can cause rusting over time which leads to premature wear-and-tear on metal components like screws and bolts – so try not to cover it up when storing outdoors either. Additionally, always unplug it before putting it away as an extra safety precaution against accidental electrocution hazards later on down the line.
By following these simple tips regularly throughout its lifetime, you can keep your hedge trimmer running smoothly without having to worry about unexpected jams due to unforeseen circumstances.
FAQ in Relation to How to Fix a Jammed Hedge Trimmer
Why is my hedge trimmer blade not moving?
If your hedge trimmer blade is not moving, it could be due to a few different issues. Firstly, check that the power cord is securely plugged in and the switch is turned on. If this does not resolve the issue, then you may need to check for any blockages or obstructions in the blades. Make sure there are no twigs or branches stuck between them as this can prevent them from rotating properly. Finally, if none of these solutions works, it could be an issue with either the motor or gearbox which will require professional assistance.
Conclusion
Fixing a jammed hedge trimmer can be a daunting task, but with the right tools and safety precautions, it doesn’t have to be. By following the steps on how to fix a jammed hedge trimmer and taking preventative measures such as regularly cleaning your trimmer blades, you can ensure that your hedge trimmer will stay in top condition for years to come. So don’t let a jammed hedge trimmer stop you from getting the job done.
Paul is the type of person who never met a problem he couldn’t fix. He can always be found tinkering with something in his house, even if it isn’t broken! His tips and tricks are often shared on our site. He’s the one you call when something breaks because he has been known to improvise fixes for everything from leaky faucets to malfunctioning dryers.