Last Updated on
Are you looking for a way to dispose of garden waste without having to haul it away? Building your own brick garden incinerator is the perfect solution. Not only will it save you time and money, but with our step-by-step guide on how to build a brick garden incinerator, you’ll be able to do it in no time. From gathering materials and preparing the site, all the way through laying foundations and adding finishing touches – we’ve got everything covered. So if you’re ready for an easy DIY project that’s both fun and practical then let’s get started building your very own brick garden incinerator.
Table of Contents:
- Gather the Materials
- Prepare the Site
- Lay the Foundation
- Build the Walls
- Add Finishing Touches
- FAQs in Relation to How to Build a Brick Garden Incinerator
- Conclusion
Gather the Materials
Bricks
Bricks are the main material used to build a garden incinerator. You’ll need enough bricks to form a square or rectangular shape, depending on your desired size. For example, if you want an incinerator that is 2 feet wide and 1 foot deep, you will need 24 bricks (2 x 12). Make sure to use firebricks for the walls of your incinerator as they can withstand high temperatures without cracking or crumbling.
Mortar
Mortar is used to hold the bricks together and create a strong structure. You will need mortar mix which can be found at most hardware stores. Mix it with water according to the instructions on the package and apply it between each brick layer using a trowel or putty knife. Allow time for it to dry before continuing with construction.
Tools
You will also need some basic tools in order to construct your garden incinerators such as gloves, safety glasses, shovels, wheelbarrows and trowels/putty knives for applying mortar between layers of bricks. Additionally, you may want to have accessorising items like firewood racks and ash buckets handy so that you can make full use of your new garden incinerator once it’s finished.
Once you have all the necessary materials, it’s time to prepare the site for building your brick garden incinerator.
Prepare the Site
Before you can begin building your incinerator, you need to prepare the site. This is an important step in the process and should not be overlooked.
First, clear away any debris that may be on the ground. You don’t want anything getting in the way of your construction project or becoming a hazard later on. Make sure to check for rocks, sticks, leaves, or other items that could interfere with your work.
Next, level out the area where you plan to build your incinerator. If there are bumps or dips in the surface of the ground, use a shovel to even them out so that it’s flat and even all around. This will help ensure that everything is built correctly and safely when it comes time to construct your incinerator.
Finally, mark off an area where you’ll be building by using stakes and string (or something similar). Doing this will give you a visual reference point as well as help keep people from accidentally walking into what could potentially become a dangerous situation while construction is underway.
Once the site is prepared, it’s time to lay the foundation for your brick garden incinerator.
Lay the Foundation
Once you have gathered all of your materials, it is time to prepare the site where you will be laying your foundation. Clear away any debris or vegetation from the area so that it is free of obstructions. Dig down about 8 inches into the ground in order to create a flat surface on which to build your foundation.
Now that you have a solid foundation, it’s time to start building the walls of your brick garden incinerator.
Build the Walls
Building the walls of an incinerator is a fairly straightforward process, but it’s important to get it right. Start by laying out your bricks in a pattern that will ensure the wall is even and level. Make sure you leave enough space between each brick for mortar, which should be applied with a trowel or pointing tool. Use plastic spacers if necessary to keep the spacing consistent.
Once you have laid out all of your bricks, use your trowel to apply mortar along the edges of each one before pressing them into place against their neighbours. As you go along, check with a spirit level that everything is even and secure; if not, adjust as needed until it is perfect. Once all of your bricks are in place and secured with mortar, leave them overnight so they can be set properly before continuing with construction work.
Once the walls are built, it’s time to add the finishing touches that will make your brick garden incinerator look great.
Add Finishing Touches
Adding the finishing touches to your home or garden project is exciting. It’s when you can finally start to see the end result of all your hard work and dedication. But it’s also important to make sure that everything is done correctly so that your project is safe and secure for years to come.
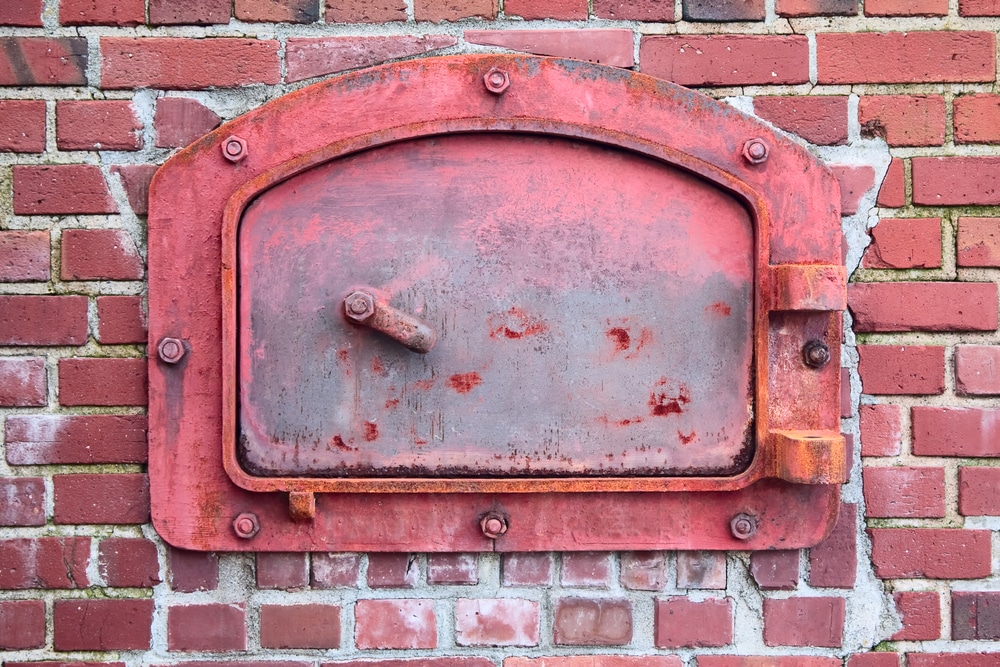
Chimney/Door
When adding a chimney or door, be sure to measure twice before cutting once. Make sure the opening in the wall matches up with the size of your chimney or door frame exactly, as any discrepancy could cause issues down the line. Once you have cut out the opening, use mortar around each side of it for extra stability and support. If using a prefabricated chimney, follow instructions carefully on how best to install it properly and securely into place.
Caulking and Sealing
Once all openings are complete (windows, doors etc.), seal them off with caulk where necessary – this will help keep out drafts and moisture from entering inside during inclement weather conditions such as rain or snow storms. Additionally, seal off any cracks in walls by filling them with caulking compound; this will prevent water from seeping through which could lead to mould growth over time if left unchecked.
Painting and Staining
Finally, finish off your project by painting or staining it according to preference. This will not only give it an aesthetically pleasing look but also protect against wear and tear due to exposure from elements like sun rays and wind gusts over time. When applying paint/stain be sure that there are no drips or runs; if there are then use a brush dipped in mineral spirits quickly remove them before they dry completely onto the surface area being painted/stained.
FAQs in Relation to How to Build a Brick Garden Incinerator
How to build an outdoor incinerator?

An outdoor incinerator is a great way to dispose of garden waste and other combustible materials. To build one, you’ll need some basic tools such as a shovel, hammer, saw, drill and safety goggles. Start by digging a hole that’s at least 2 feet deep and 1 foot wide. Place the bottom of the incinerator in the hole so it sits level with the ground. Secure it with concrete blocks or bricks around its edges for stability. Next, attach the metal mesh to create an air vent on top of the incinerator before covering it with steel sheeting or fire-resistant material like cement board. Finally, line the inside walls with fire brick and add a chimney pipe connected to your roofline for smoke release. Now you’re ready to light your fire and start burning.
Does an incinerator need holes?
Yes, an incinerator needs holes. These holes allow air to flow into the chamber and help the combustion process. Without them, the fire would not be able to burn as efficiently or completely. The size of these holes will depend on the model of incinerator you have and should be checked in accordance with manufacturer instructions for optimal performance. It is important that they are kept clear of debris at all times to ensure safe operation.
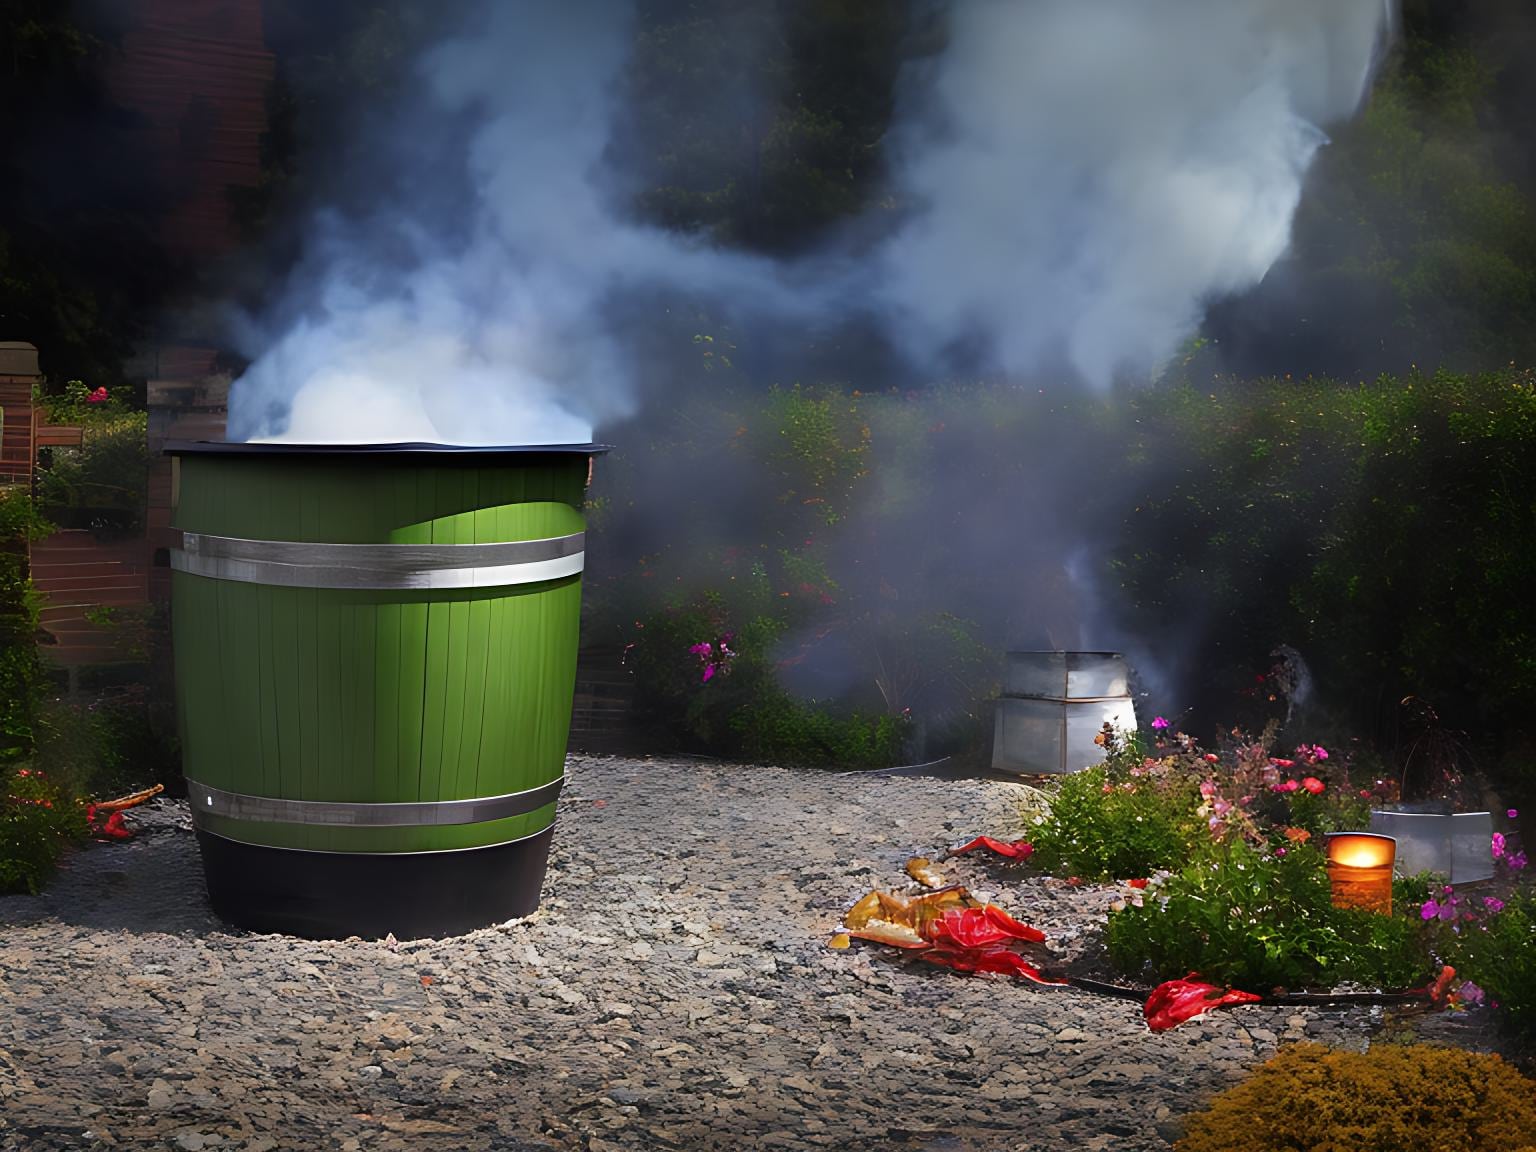
How to make a burn barrel incinerator?
A burn barrel incinerator is a great way to safely dispose of garden and household waste. It’s easy to make one at home with some basic materials like a metal drum, bricks, wire mesh, and an air vent. Start by cutting the top off the drum and drilling holes in the bottom for drainage. Place bricks inside for insulation and line the sides with wire mesh to keep sparks from escaping. Finally, add an air vent on top so oxygen can reach your fire. With these simple steps you’ll have your own burn barrel incinerator ready to use.
Conclusion
Learning how to build a brick garden incinerator is not as difficult as it may seem. With the right materials, preparation and some elbow grease, you can have your own DIY incinerator in no time. It’s an easy way to dispose of unwanted garden waste while also adding a unique feature to your outdoor space. So why wait? Gather up those bricks and get building.
Paul is the type of person who never met a problem he couldn’t fix. He can always be found tinkering with something in his house, even if it isn’t broken! His tips and tricks are often shared on our site. He’s the one you call when something breaks because he has been known to improvise fixes for everything from leaky faucets to malfunctioning dryers.