Last Updated on
It’s essential to get your wood preserver application just right to ensure that your exterior wood is sufficiently protected from fungi, insects and elements. Here’s the best way to proceed for long-lasting, highly durable garden sheds, decking, fencing and wooden planters.
Preparation
Before you get started, make sure that you have read through all of the relevant safety instructions for your product to find out how to apply wood preserver properly, as well as the manufacturer’s application recommendations.
You should wear appropriate gloves and protective clothing to ensure that your skin will not directly contact the preserver and prevent staining. You should also protect the immediate surrounding area from any splashes, including the ground and any plants. Make sure that the product will not be able to flow into any sewers or aquatic environments.
The timber you’ll be treating should be completely free from any previous coatings. If necessary, clean the surface with a stiff brush and some detergent to remove any dirt. If your wood has signs of previous treatments, it may need sanding to ensure it is paint free, clean and dry before being treated.
For wood with signs of a woodworm infestation, you’ll want to pretreat with a woodworm killer before using a preservative that effectively prevents woodworm infestations.
Fungicidal Cleaner
There is always the possibility that your timber may have spores already in the wood grain from getting wet in storage or during transportation. If there is any lichen, mould, moss or mildew present, you’ll want to make sure you carry out this extra step for clean bare wood.
While not strictly necessary, it is recommended that you use a fungicidal cleaner prior to applying your wood preserver.
While wood preservative is an excellent fungicidal treatment for preventing spores from establishing a presence, it is less effective on those already established within the grain.
As washing down your timber with a fungicidal cleaner is such a quick and highly effective step, it makes sense to carry it out just in case.
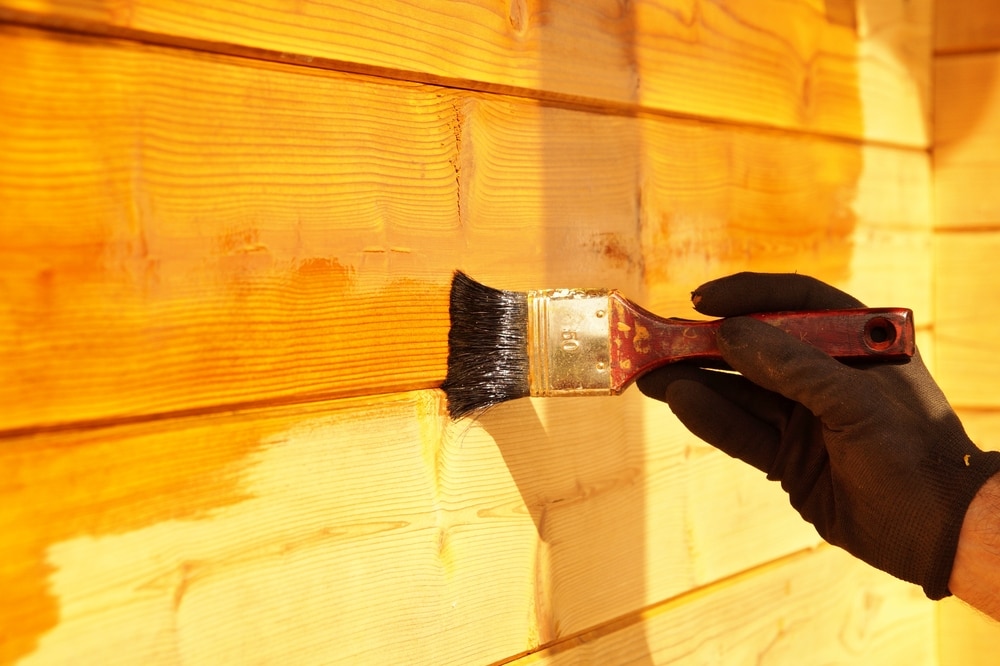
Application
With your wood clean, free from moisture and ready to treat, it’s time to get started applying your wood preserver.
For the best results, check the coverage rate before starting. For example, you may need at least 160ml per metre squared to ensure maximum effectiveness against fungi.
Planning out how much wood preserver you will get through will not stand as a guide if you are putting it on thick enough. It will also allow you to check that you have enough to complete your entire project.
Wood preservers are best applied in your garden with a large synthetic brush. You may need to tackle an article in several stages. Planters and fence panels can be placed on the covered ground and rotated. It will allow the preservative to soak in completely rather than stop runoff from a vertical section.
A minimum of two coats is required for optimum protection, although you may need to apply three or more, depending on your timber. Apply the second coat once the first coat has been absorbed but is not fully dry – typically around two to six hours later.
Drying Time
When you have finished applying your preservative treatment, you’ll need to allow your treated wood to dry out thoroughly before applying any topcoats. The exact time will vary depending on the exact wood preserver that you are using.
In general, a minimum of 24 hours of drying time is recommended before going on to paint your treated surfaces. If it rains during the 24 hours drying time, you will need to postpone painting for another 24 hours, so you may want to check the weather forecast before starting your application, especially if you’re short on time.
Top Coat
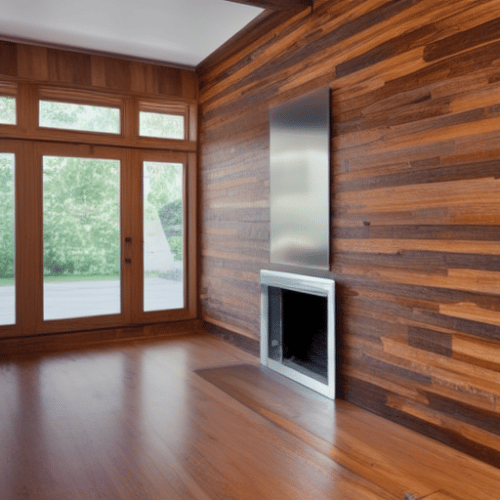
A suitable topcoat is essential for complete protection. Whether you choose to oil, wax, stain, varnish or paint over your preserved timber, check compatibility with your product.
Most varieties of wood preservers are compatible with solvent and water-based paints and finishes. However, you don’t want to wait until applying the first coat to find out that you have poor adhesion. An exterior primer can be used to improve this, using sandpaper between coats of paint to rough up the surface.
Aside from improving appearance, a top coat also enhances the durability of wood preservatives. Topcoats and oils help to better preserve your timber by sealing in the preserver and providing extra resistance to the elements, plus general wear and staining.
Protect Your Exterior Wood
Applying a wood preserver is an essential step to protect your timber from rot, decay and fungal infestations. Whether you need to preserve your garden fence better or want to prevent mould from taking over your decking, water-based preservers are easy to apply, and most are suitable for finishing off with oil or paint in a colour of your choice. All you need is to learn how to apply wood preserver properly, and you’ll be well on your way.
Have you ever used a wood preserver? Do you have other helpful tips on how to apply it effectively? Let us know below!
Kelly is an expert in consumer product research, which is very important when it comes to finding the most useful and aesthetically pleasing items for your home. This became her passion after finding it very time-consuming to wade through all the product information online.
She has keen attention to detail which she brings to her articles. Kelly’s goal is to help you find what you need without spending too much time searching for it.